RingQ Web Guides
Settings
Creating and modifying Available DID
Call Flow
A predetermined course or series of procedures that a call follows from the time it enters the system until it is completed. Call flows are created to guarantee effective handling of incoming calls, deliver dependable customer support, and accomplish particular corporate goals.
How to get to it:
You Go to the Side Menu

Click the Settings
Click the Call Flow
Available DID Numbers
A DID (Direct Inward Dialing) number allows callers to connect with a specific individual directly through a company's phone system. The call can be directed without the assistance of a receptionist or operator by assigning each DID number to a particular extension or route within the company.

Clear Cache
A process of deleting temporary files stored in the system.
To clear the cache, click the "Clear Cache" button.
Gateways
It is usually utilized in private branch exchange (PBX) systems to assign DID numbers to particular extensions or lines. The gateway directs the calls to DID numbers to the appropriate extension or extensions assigned, depending on the dialed number.

To get to the gateway:
Click the "Gateway" button.
To create a gateway:
Click the "Create Gateway" button.
Enter the Gateway name.

Enter the Proxy.

Enter the Username.

Enter the Password.

Click the Create button to save a gateway.
To Delete the Gateway:
Click the Delete button to remove the gateway.
A confirmation notice will appear to confirm the deletion.
Creating DID

Click the "Add DID" button.
Click Add button
On the panel, enter the preferred DID number.

Click the Create button to generate a new DID number.
A confirmation notice verifying the successful creation of the DID will appear.
Selecting DID as the Primary Outgoing ID
Select a DID

Sky blue is the DID's default color.
Click and hold for just a moment.

A pop-up notification will appear to confirm that DID has been set as the primary outgoing ID.

To confirm, click the "Approve" button.
To ignore, click the Cancel button.
Assigning DID Number to Conference, Extension, Queue, and IVR
Click and hold for a moment
Drag and drop the DID number to Conference, Extension, Queue, or IVR container to assign.
IVR (Interactive Voice Response)

Queue

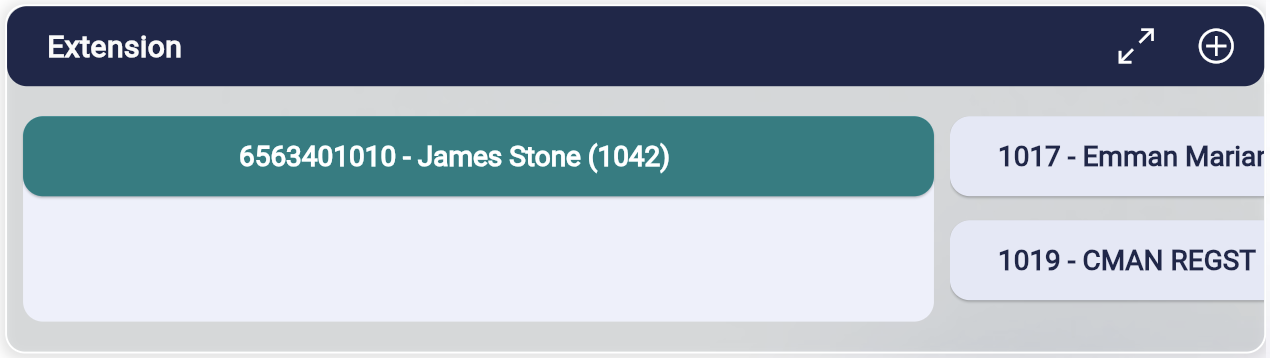
Extension
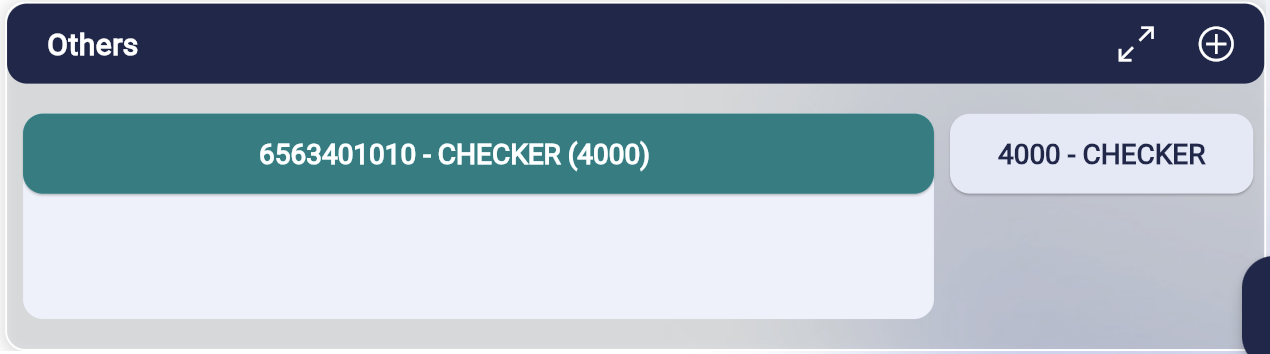
Others (Conference)
Creating and modifying Interactive Voice Response (IVR)
IVR
It's an automated phone system that answers calls, collects data, and transfers calls to the right recipient within an organization—all without any requirement for human participation. IVR systems normally lead callers through the system with pre-recorded audio prompts and menu options. They let callers select options using either voice commands or their phone keypad.
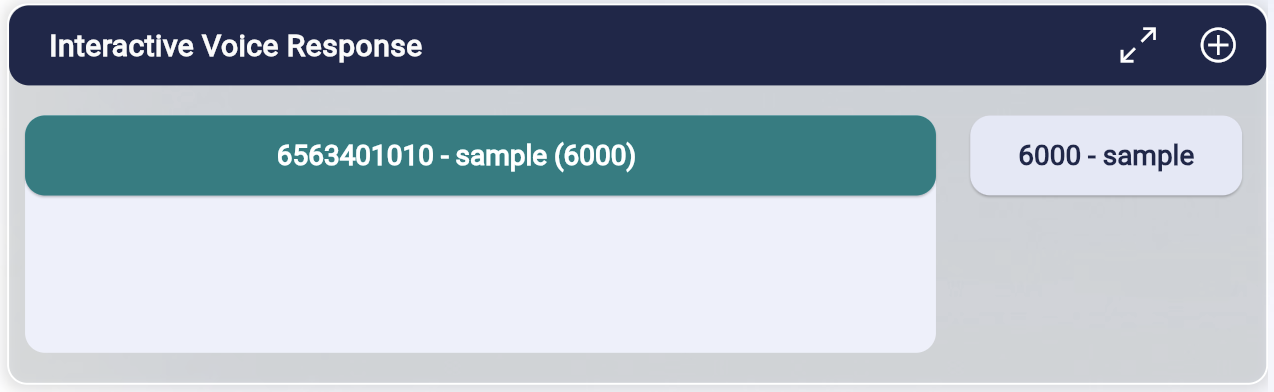
To Expand the Container:
Click the Expand button.

This is how it looks when expanded.

To go back to the minimized window:
Click back the Expand button.
-Using DID
-Assigning to DID via Existing IVR
-USing + button
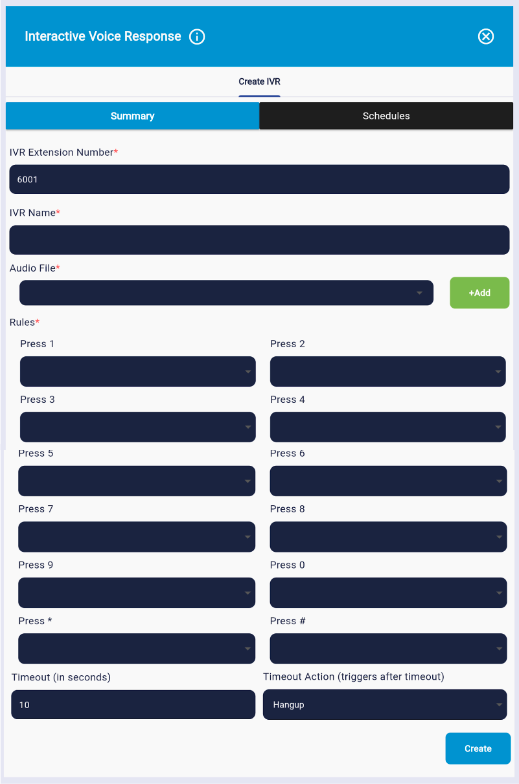
Creating IVR
Using the DID number by dragging and dropping to the IVR container.
Or by clicking the Add button.

IVR Extension Number (6000 series, with each creation increased by one)
The IVR Extension Number is automatically assigned by series of 6000, with each creation increased by one.
IVR Name Field
Input the desired IVR Name on the text field.
Adding Audio File
Click the drop-down button inside the Audio File field to show the available files for audio.
Select an Audio File in mp3 format.
Click the Add button to link the chosen audio file to the created IVR's profile settings.(4 mb maximum file size)

Rules (Assigning of IVRs, Queues, Extensions, and Voicemails)
For example, in a phone system for a company:
Press 1 for Sales
Press 2 for Customer Support
Press 3 for Billing
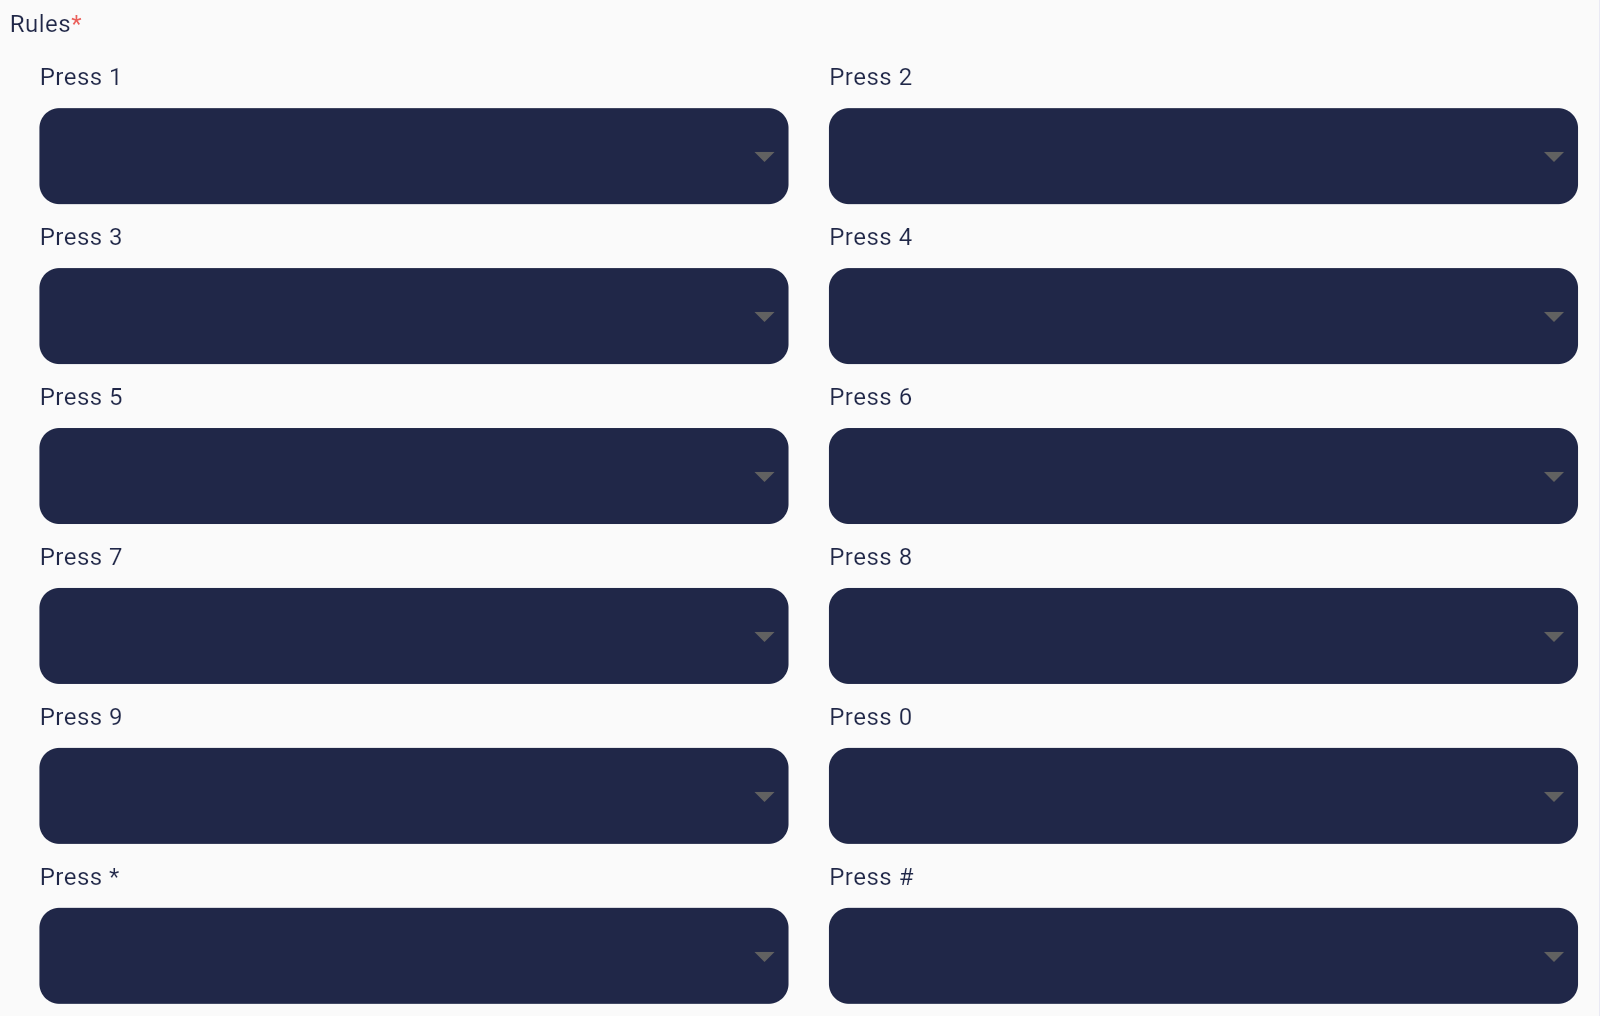
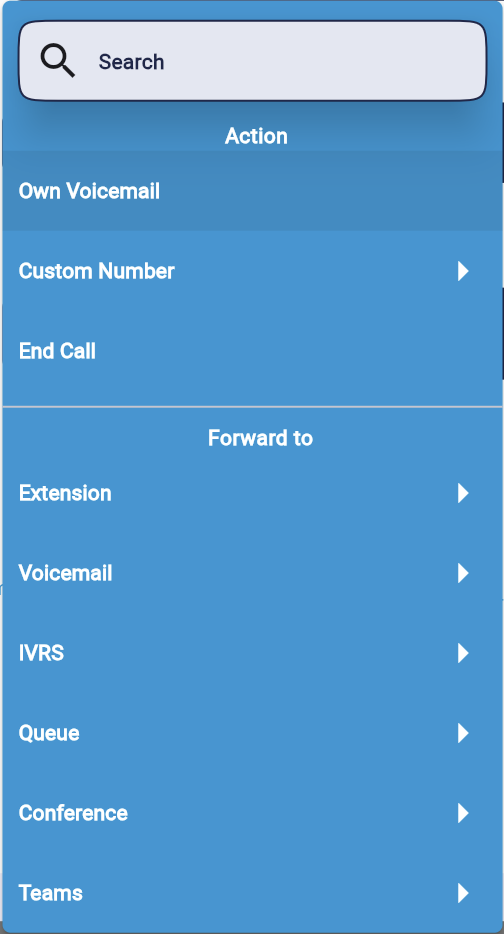
Click the drop-down button to show the available extensions for assignment.
Choose from IVRs, Queues, Extensions, and Voicemails to be assigned.
Click the selected Extension Number.
Timeout Field (In seconds)
Set the desired time duration for Timeout.
The Timeout count starts after the Audio File is played in IVR call.

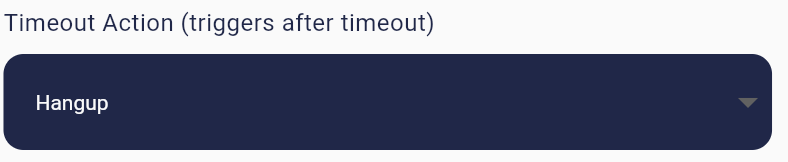
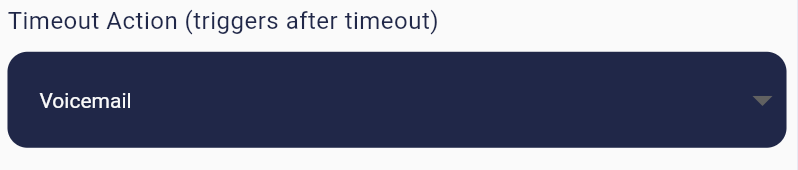
Timeout Action (triggers after timeout)
If the call is not answered the Timeout Action will be triggered. (The caller will be forwarded to Default/Hangup, IVRs, Queues, Extensions, or Voicemails.)
Click the drop-down button to select from Default/Hangup, IVRs, Queues, Extensions, or Voicemails.
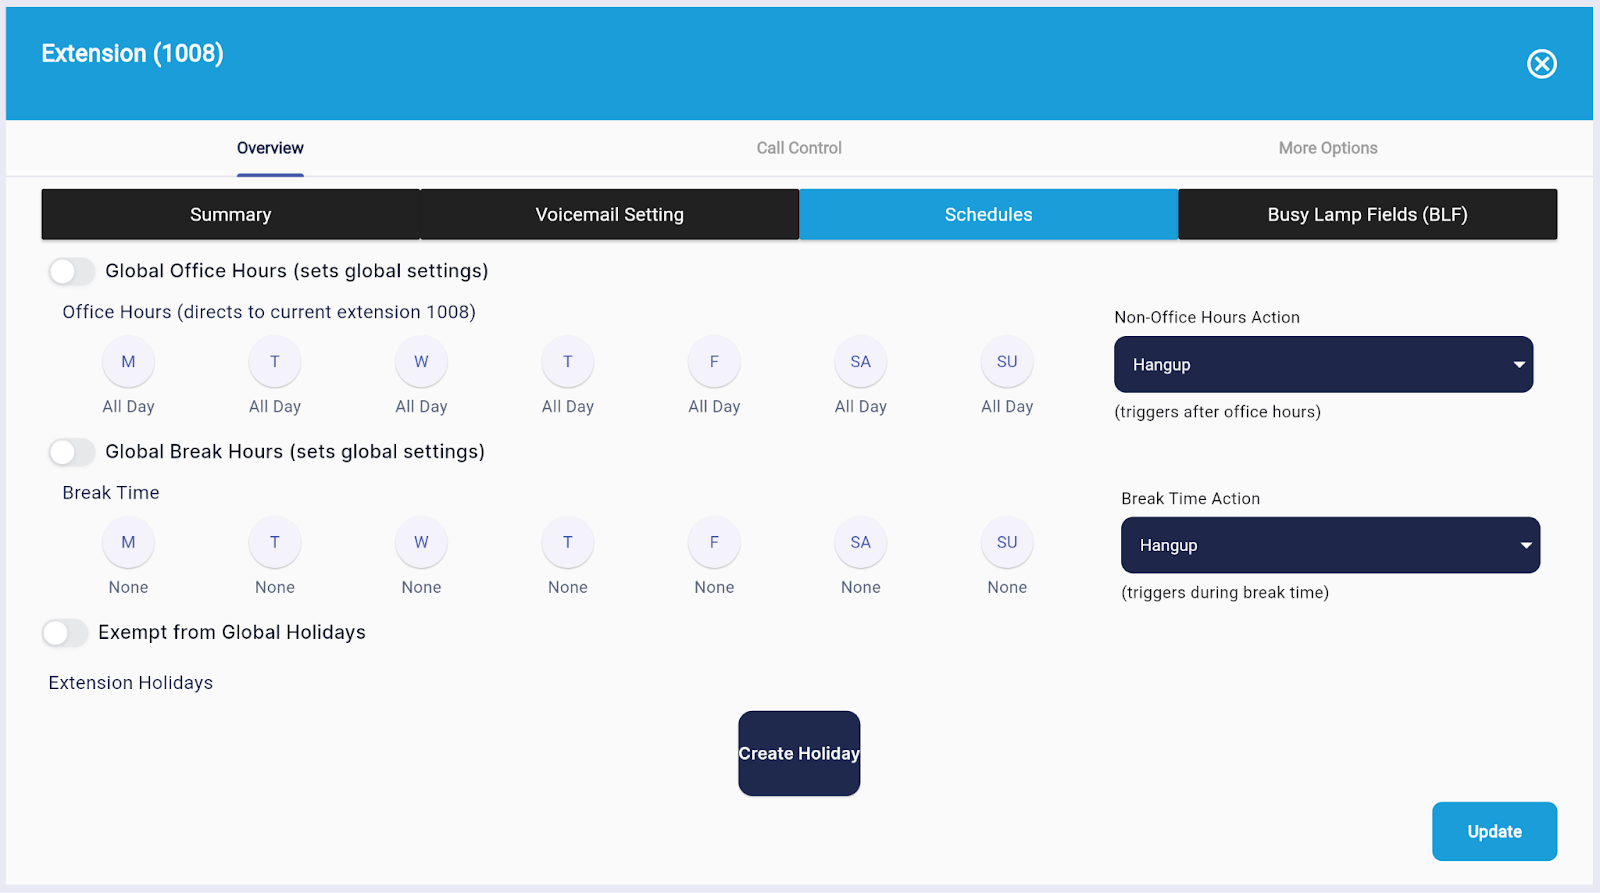
Schedules
-
Global Office Hours (sets global settings)
When Global Office Hours is enabled, the user cannot modify the office hours time and it is not possible
to select non-office hour action.

-
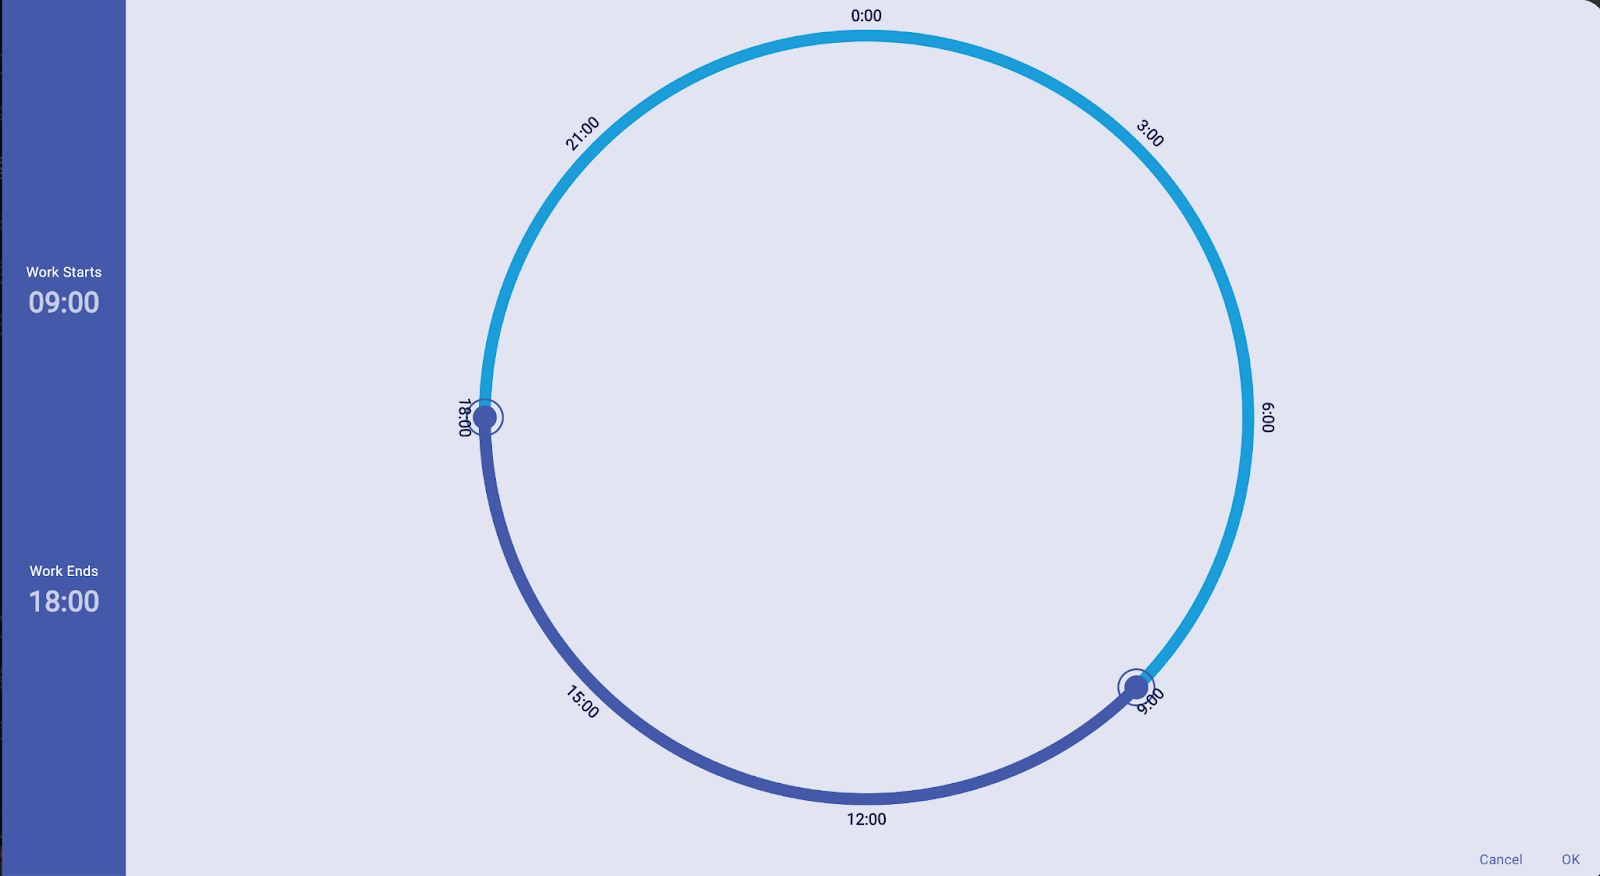
Office Hours (directs to current extension 1000)
When Global Office Hours is disabled, the user can adjust the office hours time and each time of the day is set to default (All Day).

The office hour time can be changed by the user simply moving the dot on the circle to the desired office hour.

Click the OK button so save changes.
Click the Cancel button to discard changes.
-
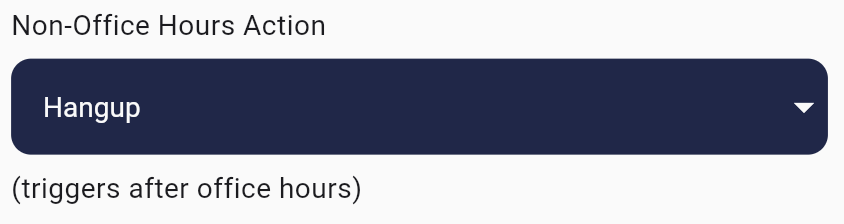
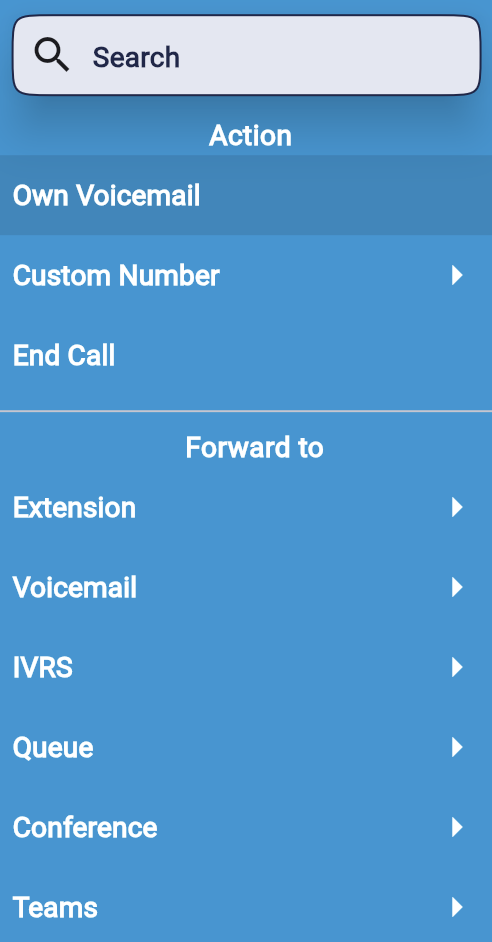
Non-Office Hours Action (triggers after office hours)
Click on the Dropdown button to select an extension, customize number, or action.

-
Global Break Hours (sets global settings)
When Global Break Hours is enabled, the user cannot adjust the office hours time and each time of the day is set to default (All Day).

-
Break Time
When Global Break Hours is disabled, the user can adjust the office hours time and each time of the day is set to default (None).

The office hour time can be changed by the user simply moving the dot on the circle to the desired office hour.

Click the OK button so save changes.
Click the Cancel button to discard changes.
-
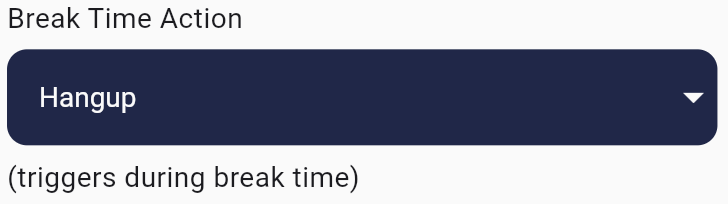
Break Time Action (triggers during break time)
Click on the Dropdown button to select an extension, customize number, or action.
-
Exempt from Global Holidays
When enabled, the local holiday won't be applicable to the extension.
When disabled, the local holiday will be applicable to the extension.
Extension Holidays
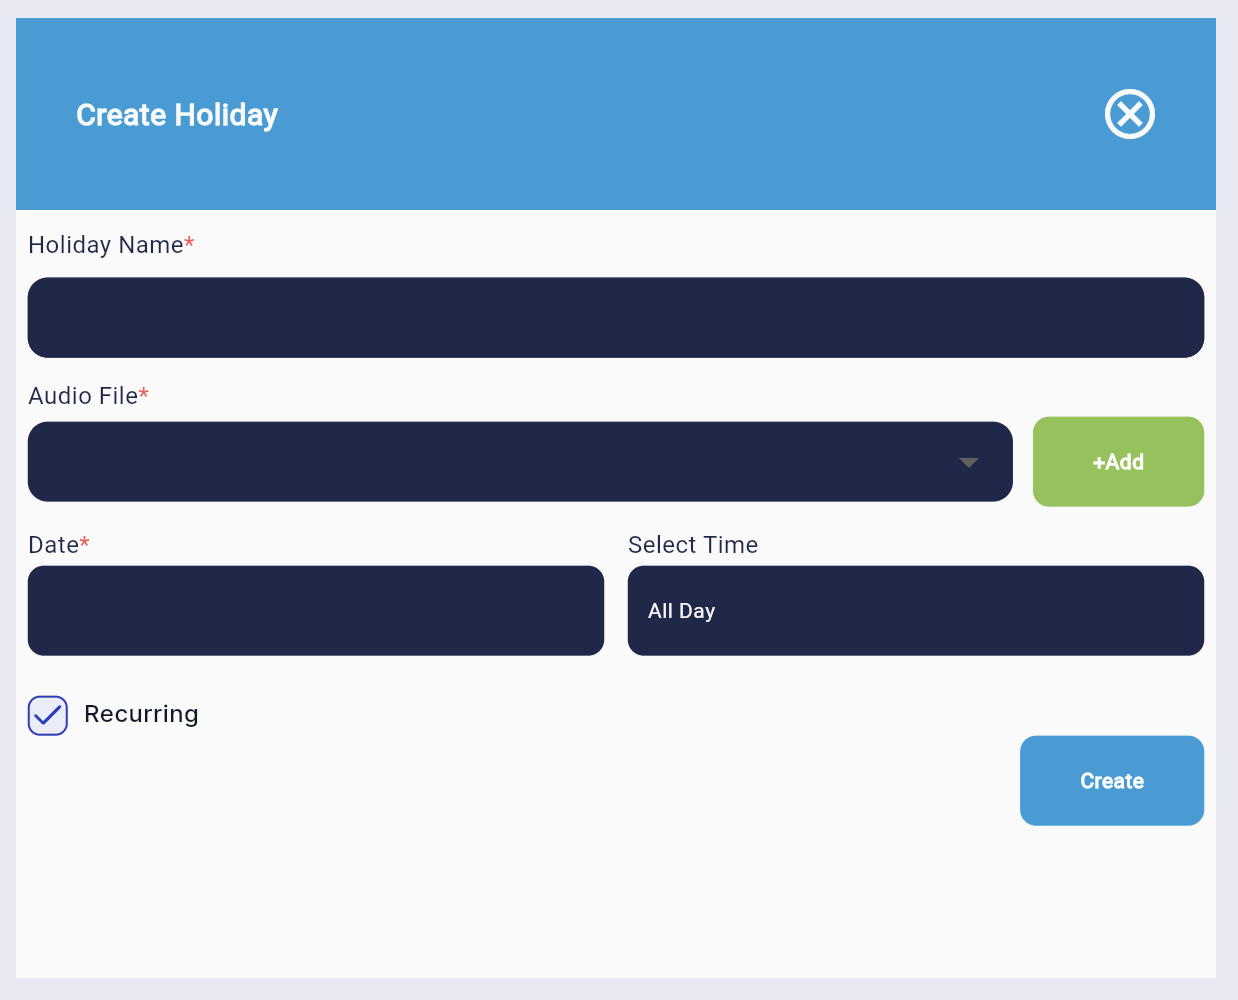
Create Holidays
Holidays can have several effects on operations, therefore advance planning, flexible scheduling, open lines of communication with clients and employees, and techniques for sustaining service levels during peak times are crucial for call centers.

-
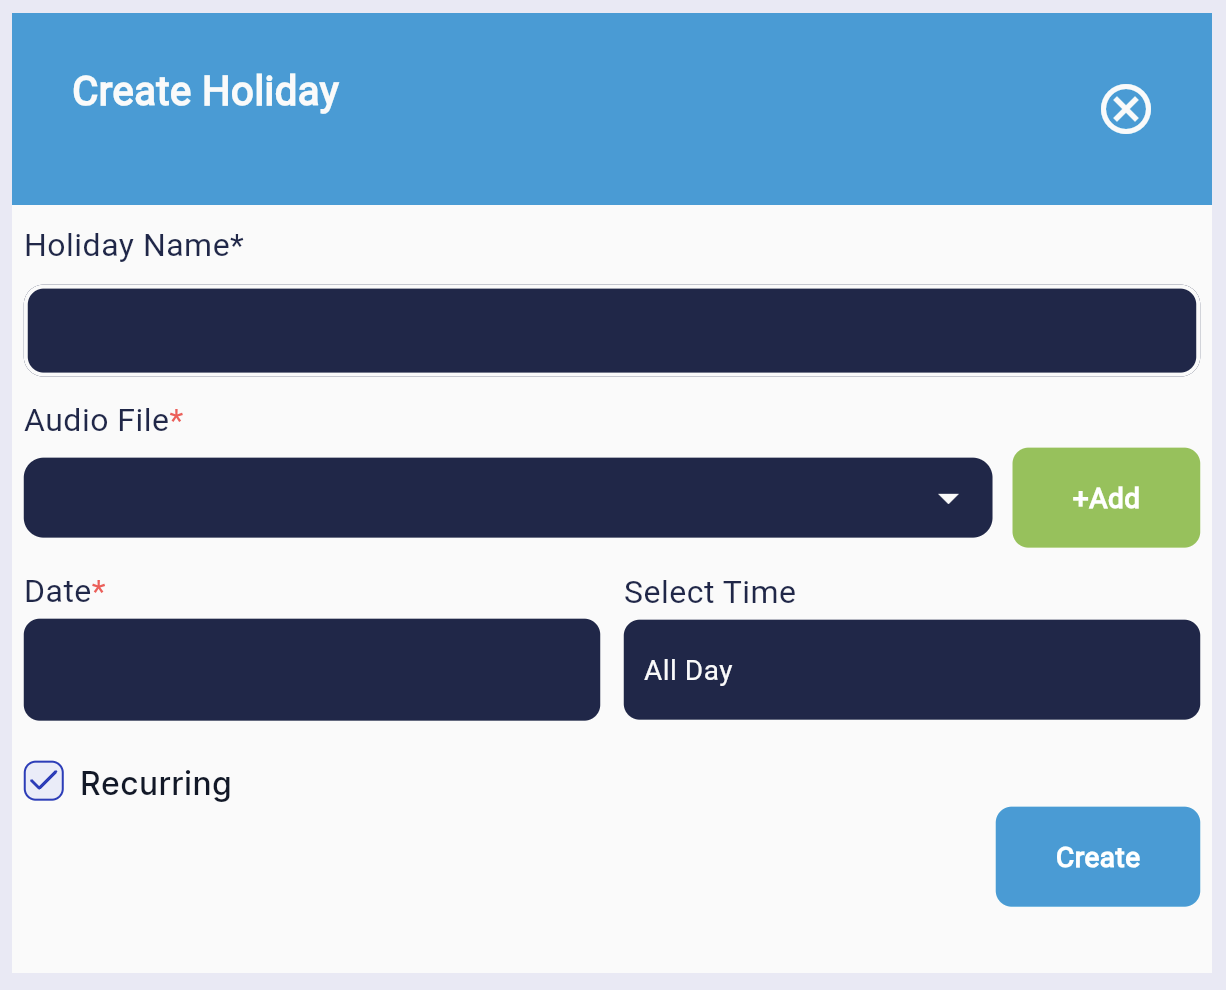
Fill in the fields in the Create Holiday form:

-
Holiday Name*

-
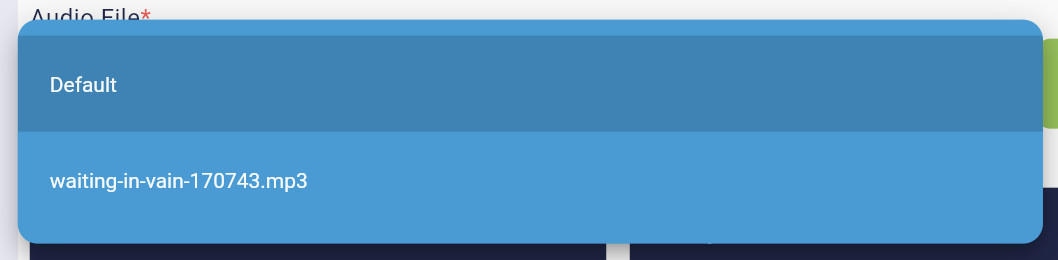
Audio File*
To choose an existing audio file to be used as the holiday music, click on the Drop-down menu.
-
Add
To upload a new audio file for the holiday, click the Add button.
-
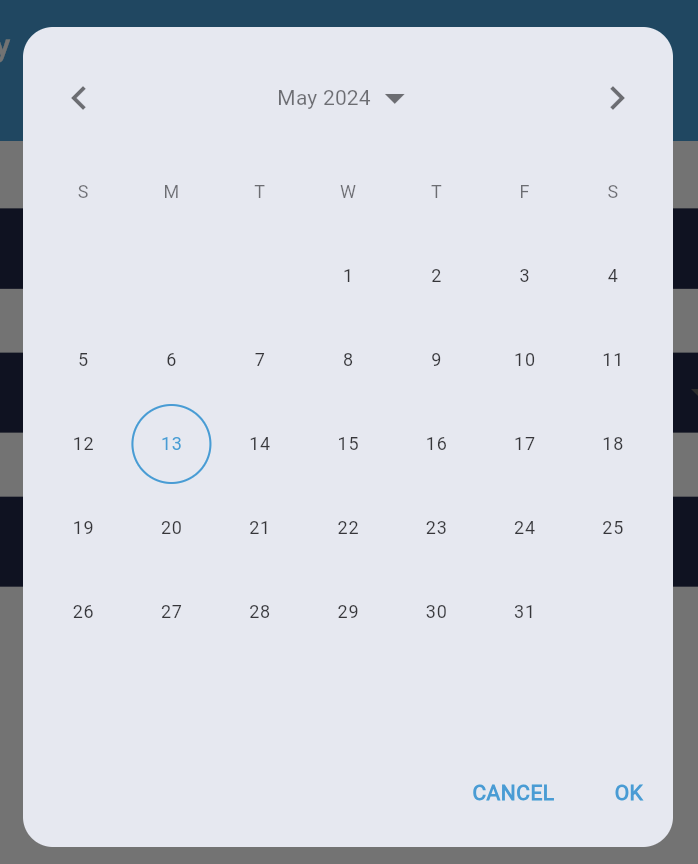
Date*
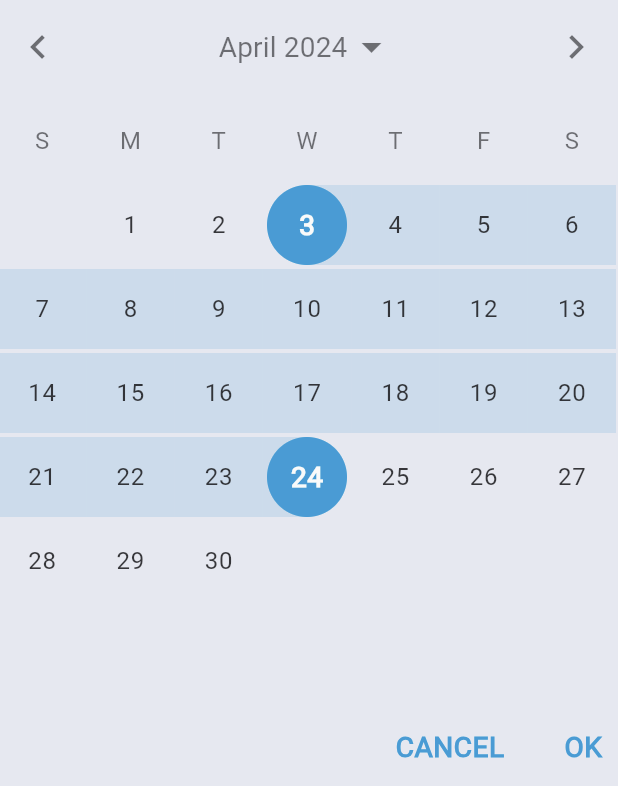
To choose a certain day for the holiday, click on the date panel.

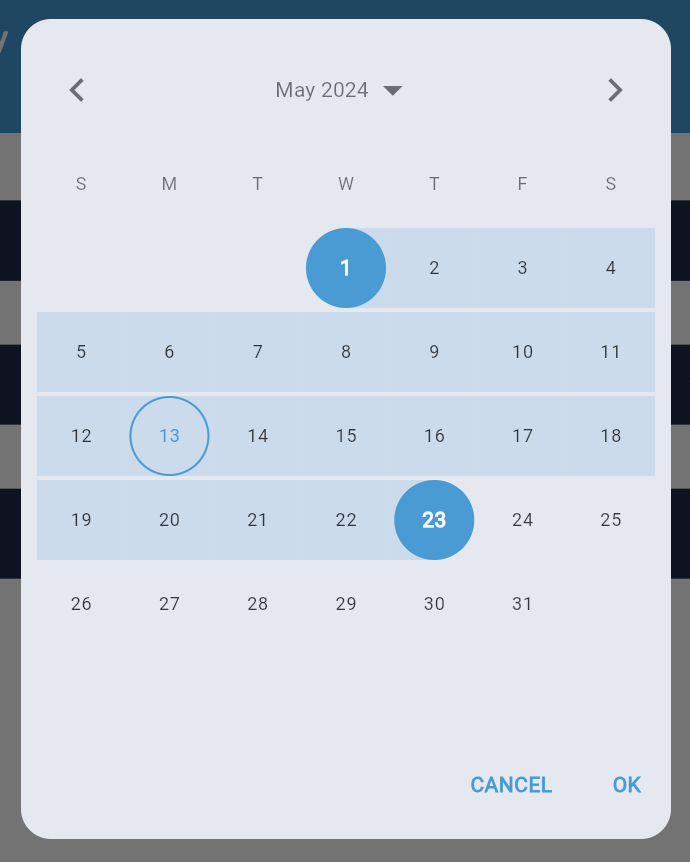
To choose a date, click on the day you would want to have declared a holiday.
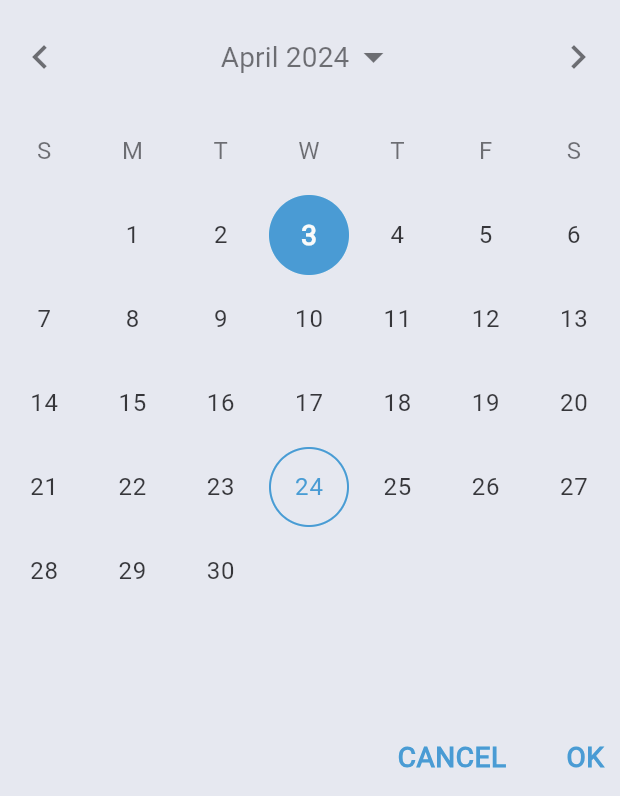
To choose a date range, click on the day you want the holiday to begin and the day you want it to end.

-
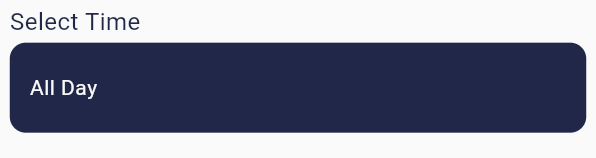
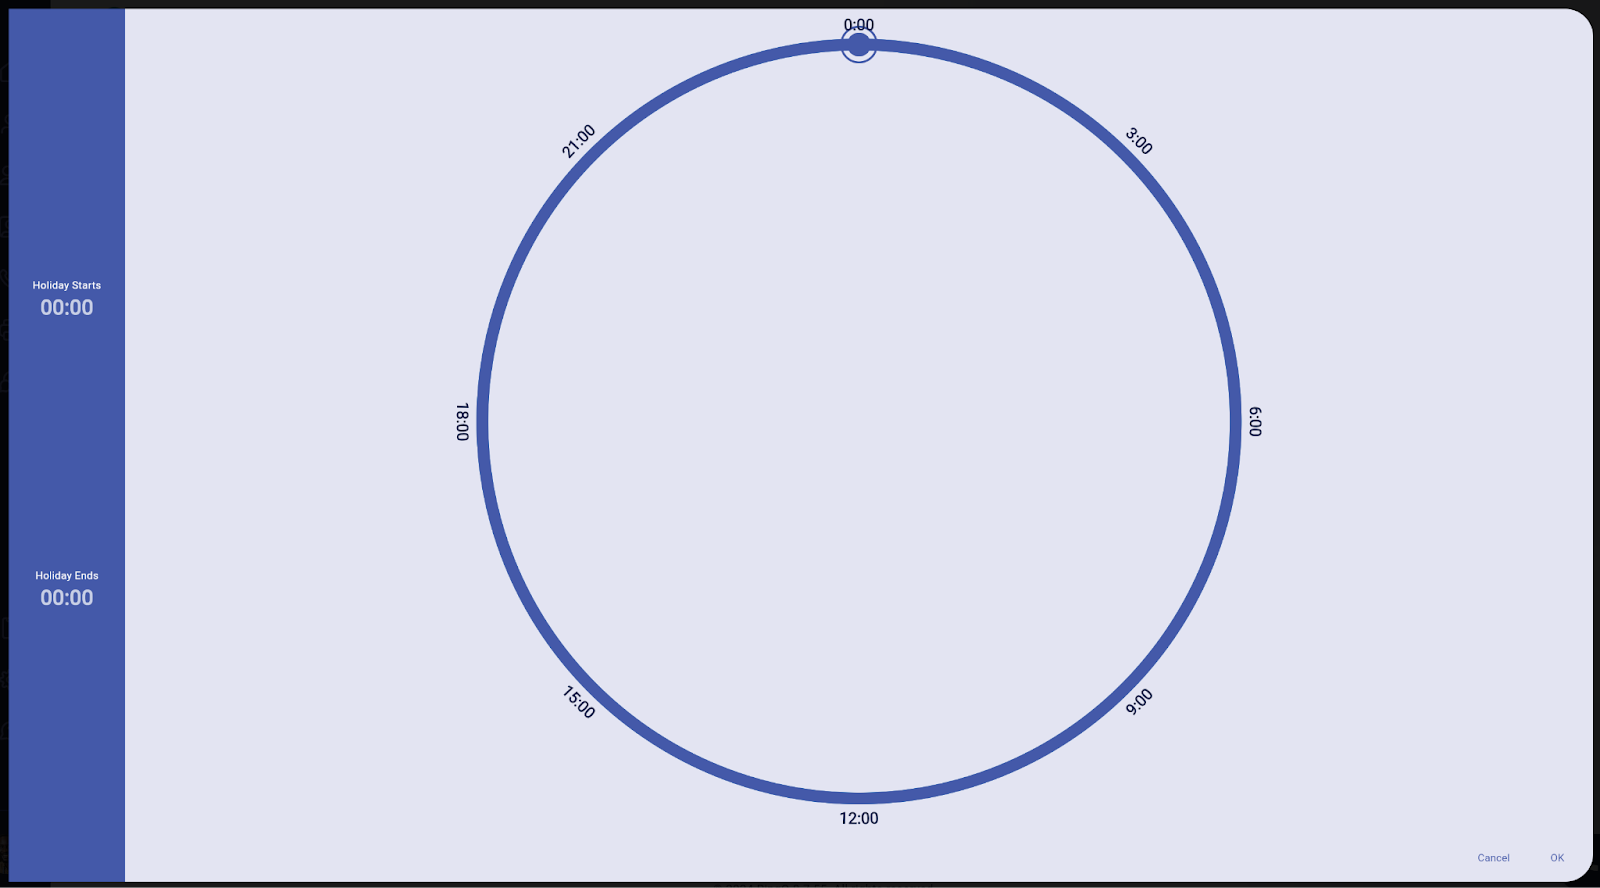
Select Time
Holiday time is set to All Day as a default.

The holiday time can also be changed by the user simply moving the dot on the circle to the desired office hour.

Click the OK button so save changes.
Click the Cancel button to discard changes.
-
Recurring
Check the box if you would like the holiday to be repeated in the upcoming years.
Uncheck the box if you do not want the holiday to be repeated in the upcoming years.
-
Create
To save the holiday, click the Create button.We
Editing IVR
Click the existing IVR to start editing the profile settings.
Or by clicking the Add button.
IVR Extension Number (6000 series, with each creation increased by one)
The IVR Extension Number is automatically assigned by series of 6000, with each creation increased by one.
IVR Name Field
Input the desired IVR Name on the text field.
Adding Audio File
Click the drop-down button inside the Audio File field to show the available files for audio.
Select an Audio File in mp3 format.
Click the Add button to link the chosen audio file to the created IVR's profile settings.(4 mb maximum file size)
Rules (Assigning of IVRs, Queues, Extensions, and Voicemails)
For example, in a phone system for a company:
Press 1 for Sales
Press 2 for Customer Support
Press 3 for Billing
Click the drop-down button to show the available extensions for assignment.
Choose from IVRs, Queues, Extensions, and Voicemails to be assigned.
Click the selected Extension Number.
Timeout Field (In seconds)
Set the desired time duration for Timeout.
The Timeout count starts after the Audio File is played in IVR call.
Timeout Action (triggers after timeout)
If the call is not answered the Timeout Action will be triggered. (The caller will be forwarded to Default/Hangup, IVRs, Queues, Extensions, or Voicemails.)
Click the drop-down button to select from Default/Hangup, IVRs, Queues, Extensions, or Voicemails.
Schedules
-
Global Office Hours (sets global settings)
When Global Office Hours is enabled, the user cannot modify the office hours time and it is not possible
to select non-office hour action.
-
Office Hours (directs to current extension 1000)
When Global Office Hours is disabled, the user can adjust the office hours time and each time of the day is set to default (All Day).
The office hour time can be changed by the user simply moving the dot on the circle to the desired office hour.
Click the OK button so save changes.
Click the Cancel button to discard changes.
-
Non-Office Hours Action (triggers after office hours)
Click on the Dropdown button to select an extension, customize number, or action.
-
Global Break Hours (sets global settings)
When Global Break Hours is enabled, the user cannot adjust the office hours time and each time of the day is set to default (All Day).
-
Break Time
When Global Break Hours is disabled, the user can adjust the office hours time and each time of the day is set to default (None).
The office hour time can be changed by the user simply moving the dot on the circle to the desired office hour.
Click the OK button so save changes.
Click the Cancel button to discard changes.
-
Break Time Action (triggers during break time)
Click on the Dropdown button to select an extension, customize number, or action.
-
Exempt from Global Holidays
When enabled, the local holiday won't be applicable to the extension.
When disabled, the local holiday will be applicable to the extension.
Extension Holidays
Create Holidays
Holidays can have several effects on operations, therefore advance planning, flexible scheduling, open lines of communication with clients and employees, and techniques for sustaining service levels during peak times are crucial for call centers.
-
Fill in the fields in the Create Holiday form:
-
Holiday Name*
-
Audio File*
To choose an existing audio file to be used as the holiday music, click on the Drop-down menu.
-
Add
To upload a new audio file for the holiday, click the Add button.
-
Date*
To choose a certain day for the holiday, click on the date panel.
To choose a date, click on the day you would want to have declared a holiday.
To choose a date range, click on the day you want the holiday to begin and the day you want it to end.
-
Select Time
Holiday time is set to All Day as a default.
The holiday time can also be changed by the user simply moving the dot on the circle to the desired office hour.
Click the OK button so save changes.
Click the Cancel button to discard changes.
-
Recurring
Check the box if you would like the holiday to be repeated in the upcoming years.
Uncheck the box if you do not want the holiday to be repeated in the upcoming years.
-
Create
To save the holiday, click the Create button.We
Delete Button
Click the Delete button to remove the Extension Number profile assigned to IVR.
Choose from Existing IVR
Drag and drop the available DID into the IVR container.
Click on the Existing IVR.

Click the drop-down button to select from the existing IVR.

Click the Save button to use/edit the existing profile settings of an extension.

Creating and Modifying Queue
Queue
Refers to the place customers are put on hold until a suitable agent becomes available to assist.
To Expand the Container:
Click the Expand button.

This is how it looks when expanded.

To go back to the minimized window:
Click back the Expand button.
-Using DID
-Assigning to DID via Existing IVR
-USing + button
Creating Queue
Using the DID number by dragging and dropping to the IVR container.
Or by clicking the Add button.
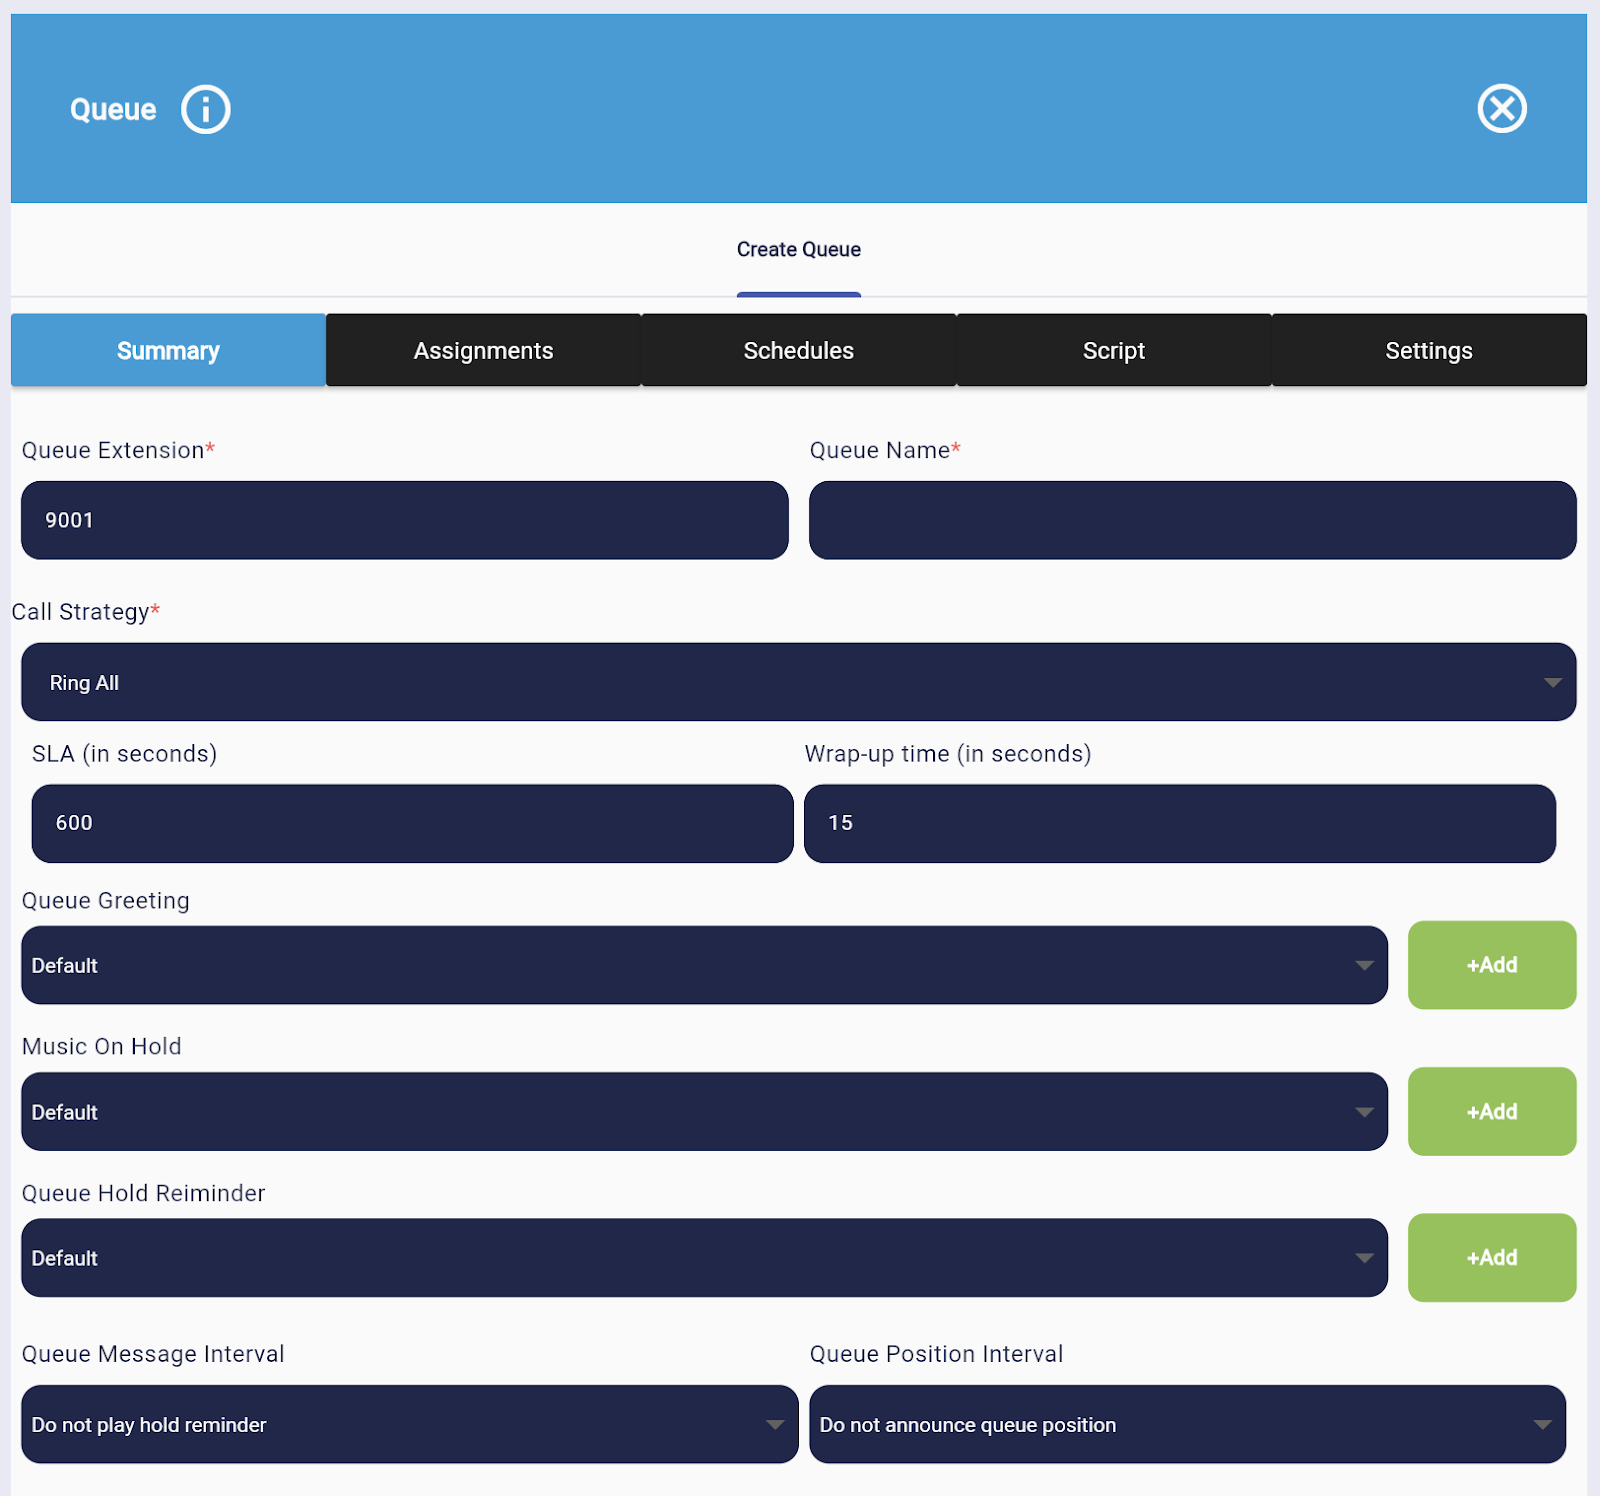
Queue Extension Number (9000 series, with each creation increased by one)
The Queue Extension Number is automatically assigned by a series of 9000, with each creation increasing by one.

Queue Name Field
Input the desired Queue Name on the text field.

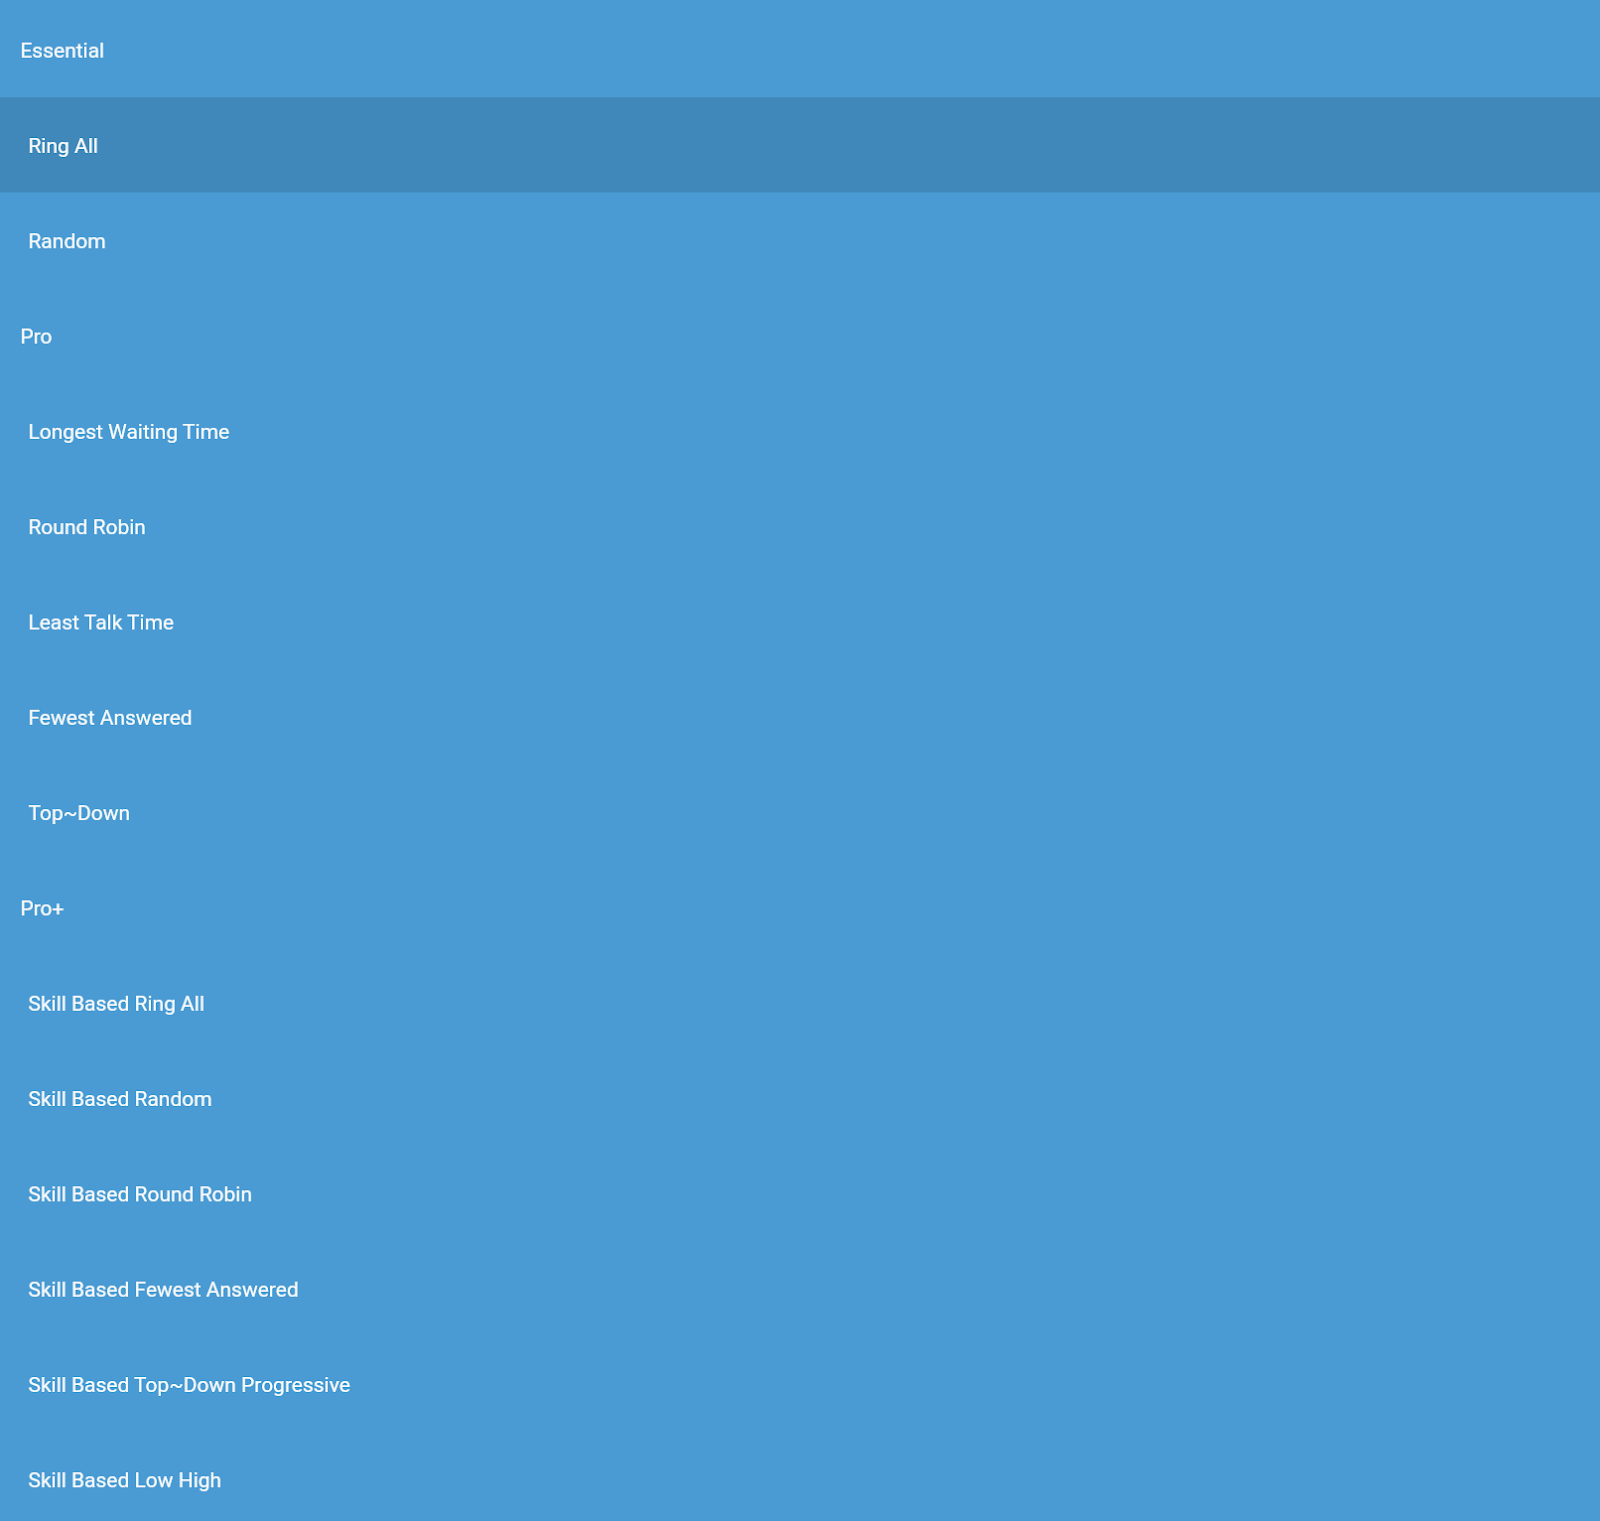
Call Strategy
Click the drop-down button to select Call Strategy to be used for Queue.
Click on the selected Call Strategy from Ring All, Longest Idle Agent, Round Robin, Agent With The Least Talk Time, Agent With Fewest Call, Sequentially By Agent Order, Sequentially By Next Agent Order, and Random.

Queue Priority
The order in which assignments, requests, or procedures are handled or followed out, taking into account their respective urgency or priority.

Agent Timeout Limit (in seconds)
the maximum period of inactivity or unresponsiveness that an agent may have before being automatically logged out of a system or program.

Queue SLA (in seconds)
[Pending additional steps once UX improvements are implemented.]

Wrap-up Time ( in seconds)
Post-call processing is the time that an agent spends doing various tasks to wrap up a client engagement (such as a phone conversation, chat session, or email) and be ready for the next one.

Queue Greeting
Click the drop-down button inside the Audio File field to show the available files for audio.
Select an Audio File in mp3 format.
Click the Add button to link the chosen audio file to the Queues profile settings. (4 mb maximum file size)
Music on Hold
Click the drop-down button inside the Audio File field to show the available files for audio.
Select an Audio File in mp3 format.
Click the Add button to link the chosen audio file to the Queues profile settings. (4 mb maximum file size)

Message on Hold
Click the drop-down button inside the Audio File field to show the available files for audio.
Select an Audio File in mp3 format.
Click the Add button to link the chosen audio file to the Queues profile settings. (4 mb maximum file size)
Message on Hold 2
Click the drop-down button inside the Audio File field to show the available files for audio.
Select an Audio File in mp3 format.
Click the Add button to link the chosen audio file to the Queues profile settings. (4 mb maximum file size)
Message on Hold 3
Click the drop-down button inside the Audio File field to show the available files for audio.
Select an Audio File in mp3 format.
Click the Add button to link the chosen audio file to the Queues profile settings. (4 mb maximum file size)
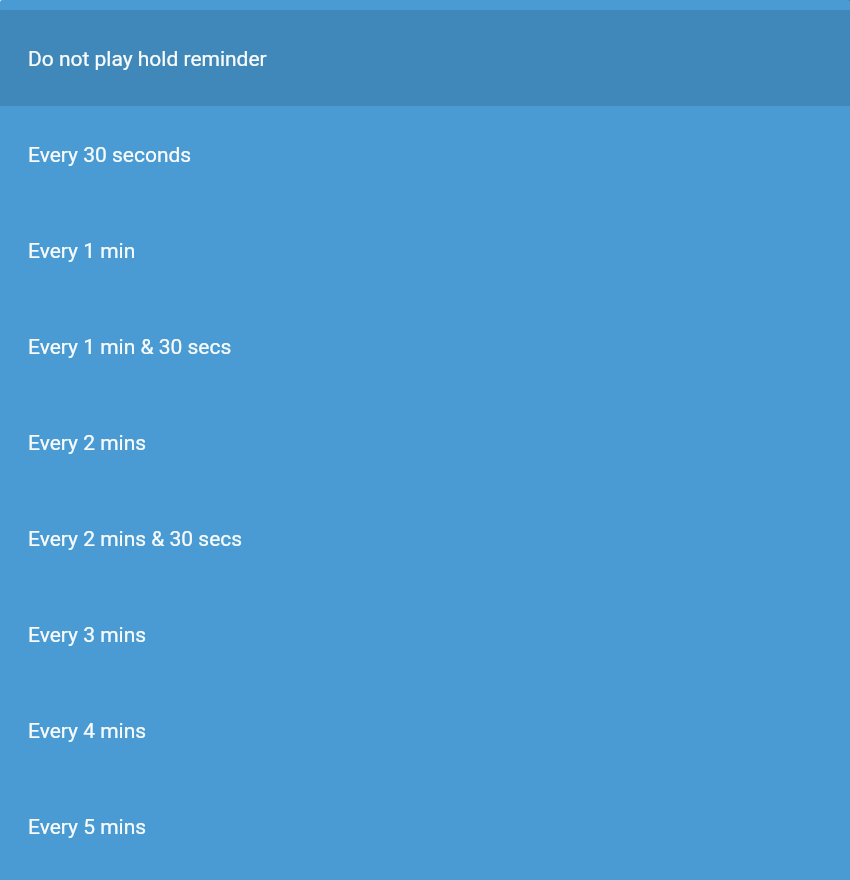
Queue Message Interval
A designated time interval, measured in seconds, is allocated for the playback of your pre-recorded messages during the on-hold duration.

Queue Position Interval
A predefined duration in seconds means a call rings in the Queue. If unanswered within this limit, the call may be redirected to another queue, or another action can occur for efficient call handling.

Queue Timeout (in seconds)
A predefined duration in seconds means a call rings in the queue. If unanswered within this limit, the call may be redirected to another queue, or another action can occur for efficient call handling.

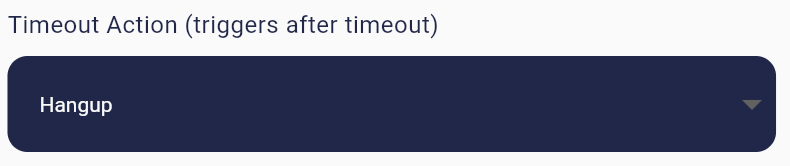
Timeout Action (triggers after timeout)
The action that will happen when the call remains unanswered for a specific duration. It may be redirected to another queue, or another action can occur for efficient call handling.
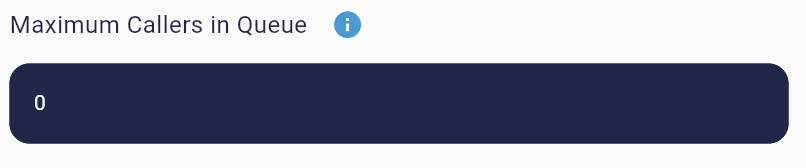
Maximum Callers in Queue
Set a limit on the number of callers that can be connected to the Queue. When this limit is reached, subsequent lines will be informed that all lines are busy and encouraged to try again.
Queue Auto Answer
Chat Integration

Assignments
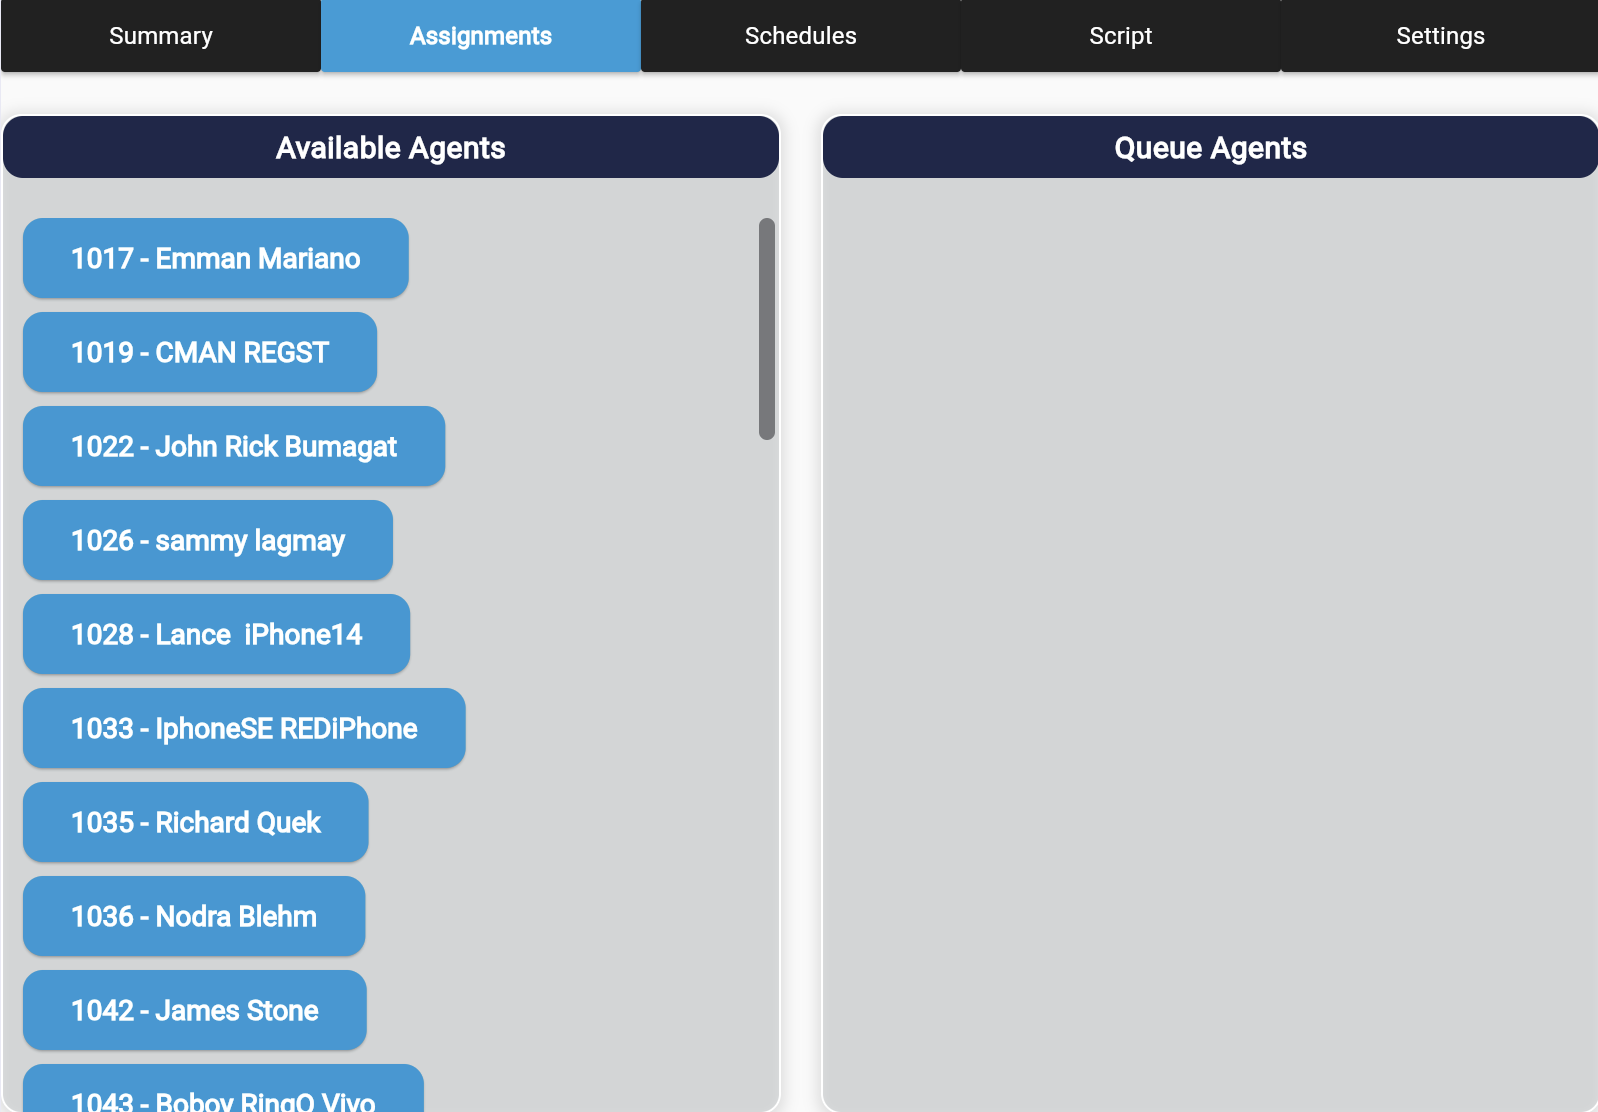
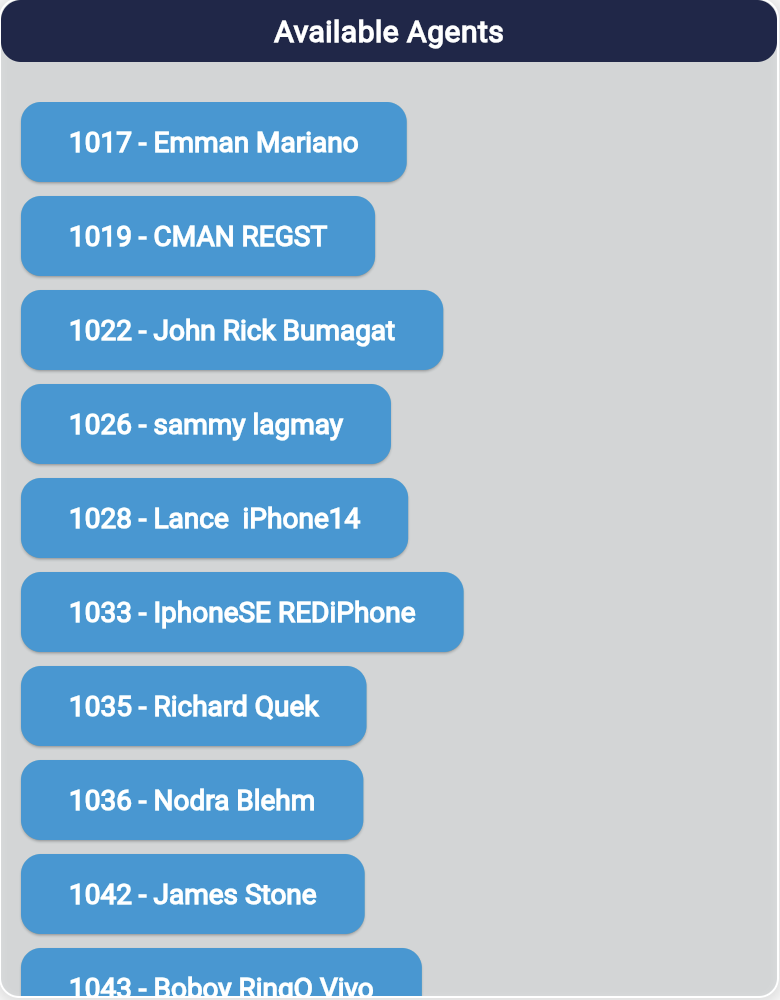
Available Agents
This is a list of the Available Agents for Queue.
Assigning Available Agents to Queue Agents
Select an agent from the Available Agent container.
Hold down the available agent.
To assign the Available Agent to Queue, drag & drop it onto the Queue Agents container.
Save Button
After setting up the Queue’s extension profile, Click the Create button to save.

Schedules

-
Global Office Hours (sets global settings)
When Global Office Hours is enabled, the user cannot modify the office hours time and it is not possible
to select non-office hour action.

-
Office Hours (directs to current extension 1000)
When Global Office Hours is disabled, the user can adjust the office hours time and each time of the day is set to default (All Day).

The office hour time can be changed by the user simply moving the dot on the circle to the desired office hour.

Click the OK button so save changes.
Click the Cancel button to discard changes.
-
Non-Office Hours Action (triggers after office hours)
Click on the Dropdown button to select an extension, customize number, or action.


-
Global Break Hours (sets global settings)
When Global Break Hours is enabled, the user cannot adjust the office hours time and each time of the day is set to default (All Day).

-
Break Time
When Global Break Hours is disabled, the user can adjust the office hours time and each time of the day is set to default (None).

The office hour time can be changed by the user simply moving the dot on the circle to the desired office hour.
Click the OK button so save changes.
Click the Cancel button to discard changes.
-
Break Time Action (triggers during break time)
Click on the Dropdown button to select an extension, customize number, or action.


-
Exempt from Global Holidays
When enabled, the local holiday won't be applicable to the extension.
When disabled, the local holiday will be applicable to the extension.
Extension Holidays
Create Holidays
Holidays can have several effects on operations, therefore advance planning, flexible scheduling, open lines of communication with clients and employees, and techniques for sustaining service levels during peak times are crucial for call centers.

-
Fill in the fields in the Create Holiday form:
-
Holiday Name*

-
Audio File*
To choose an existing audio file to be used as the holiday music, click on the Drop-down menu.
-
Add
To upload a new audio file for the holiday, click the Add button.
-
Date*
To choose a certain day for the holiday, click on the date panel.

To choose a date, click on the day you would want to have declared a holiday.

To choose a date range, click on the day you want the holiday to begin and the day you want it to end.
-
Select Time
Holiday time is set to All Day as a default.

The holiday time can also be changed by the user simply moving the dot on the circle to the desired office hour.

Click the OK button so save changes.
Click the Cancel button to discard changes.
-
Recurring
Check the box if you would like the holiday to be repeated in the upcoming years.
Uncheck the box if you do not want the holiday to be repeated in the upcoming years.
-
Create
To save the holiday, click the Create button.We
Script
Input the script to be used during the queue calls.
Click create to save
Settings
When enabled, it allows the user to make wrap-up notes for this queue.
When enabled, it allows the user to make wrap-up notes and will only appear after calls in this queue.
When enabled, it will show the contact information for this queue.
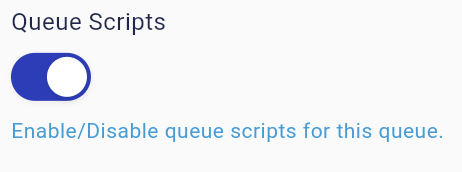
When enabled, it allows the user to make queue scripts.
Click the Save button to save changes.

Editing Queue
Queue Extension Number (9000 series, with each creation increased by one)
The Queue Extension Number is automatically assigned by a series of 9000, with each creation increasing by one.
Queue Name Field
Input the desired Queue Name on the text field.
Call Strategy
Click the drop-down button to select Call Strategy to be used for Queue.
Click on the selected Call Strategy from Ring All, Longest Idle Agent, Round Robin, Agent With The Least Talk Time, Agent With Fewest Call, Sequentially By Agent Order, Sequentially By Next Agent Order, and Random.
Queue Priority
The order in which assignments, requests, or procedures are handled or followed out, taking into account their respective urgency or priority.
Agent Timeout Limit (in seconds)
the maximum period of inactivity or unresponsiveness that an agent may have before being automatically logged out of a system or program.
Queue SLA (in seconds)
[Pending additional steps once UX improvements are implemented.]
Wrap-up Time ( in seconds)
Post-call processing is the time that an agent spends doing various tasks to wrap up a client engagement (such as a phone conversation, chat session, or email) and be ready for the next one.
Queue Greeting
Click the drop-down button inside the Audio File field to show the available files for audio.
Select an Audio File in mp3 format.
Click the Add button to link the chosen audio file to the Queues profile settings. (4 mb maximum file size)
Music on Hold
Click the drop-down button inside the Audio File field to show the available files for audio.
Select an Audio File in mp3 format.
Click the Add button to link the chosen audio file to the Queues profile settings. (4 mb maximum file size)
Message on Hold
Click the drop-down button inside the Audio File field to show the available files for audio.
Select an Audio File in mp3 format.
Click the Add button to link the chosen audio file to the Queues profile settings. (4 mb maximum file size)
Message on Hold 2
Click the drop-down button inside the Audio File field to show the available files for audio.
Select an Audio File in mp3 format.
Click the Add button to link the chosen audio file to the Queues profile settings. (4 mb maximum file size)
Message on Hold 3
Click the drop-down button inside the Audio File field to show the available files for audio.
Select an Audio File in mp3 format.
Click the Add button to link the chosen audio file to the Queues profile settings. (4 mb maximum file size)
Queue Message Interval
A designated time interval, measured in seconds, is allocated for the playback of your pre-recorded messages during the on-hold duration.
Queue Position Interval
A predefined duration in seconds means a call rings in the Queue. If unanswered within this limit, the call may be redirected to another queue, or another action can occur for efficient call handling.
Queue Timeout (in seconds)
A predefined duration in seconds means a call rings in the queue. If unanswered within this limit, the call may be redirected to another queue, or another action can occur for efficient call handling.
Timeout Action (triggers after timeout)
The action that will happen when the call remains unanswered for a specific duration. It may be redirected to another queue, or another action can occur for efficient call handling.
Maximum Callers in Queue
Set a limit on the number of callers that can be connected to the Queue. When this limit is reached, subsequent lines will be informed that all lines are busy and encouraged to try again.
Queue Auto Answer
Chat Integration
Assignments
Available Agents
This is a list of the Available Agents for Queue.
Assigning Available Agents to Queue Agents
Select an agent from the Available Agent container.
Hold down the available agent.
To assign the Available Agent to Queue, drag & drop it onto the Queue Agents container.
Save Button
After setting up the Queue’s extension profile, Click the Create button to save.
Schedules
-
Global Office Hours (sets global settings)
When Global Office Hours is enabled, the user cannot modify the office hours time and it is not possible
to select non-office hour action.
-
Office Hours (directs to current extension 1000)
When Global Office Hours is disabled, the user can adjust the office hours time and each time of the day is set to default (All Day).
The office hour time can be changed by the user simply moving the dot on the circle to the desired office hour.
Click the OK button so save changes.
Click the Cancel button to discard changes.
-
Non-Office Hours Action (triggers after office hours)
Click on the Dropdown button to select an extension, customize number, or action.
-
Global Break Hours (sets global settings)
When Global Break Hours is enabled, the user cannot adjust the office hours time and each time of the day is set to default (All Day).
-
Break Time
When Global Break Hours is disabled, the user can adjust the office hours time and each time of the day is set to default (None).
The office hour time can be changed by the user simply moving the dot on the circle to the desired office hour.
Click the OK button so save changes.
Click the Cancel button to discard changes.
-
Break Time Action (triggers during break time)
Click on the Dropdown button to select an extension, customize number, or action.
-
Exempt from Global Holidays
When enabled, the local holiday won't be applicable to the extension.
When disabled, the local holiday will be applicable to the extension.
Extension Holidays
Create Holidays
Holidays can have several effects on operations, therefore advance planning, flexible scheduling, open lines of communication with clients and employees, and techniques for sustaining service levels during peak times are crucial for call centers.
-
Fill in the fields in the Create Holiday form:
-
Holiday Name*
-
Audio File*
To choose an existing audio file to be used as the holiday music, click on the Drop-down menu.
-
Add
To upload a new audio file for the holiday, click the Add button.
-
Date*
To choose a certain day for the holiday, click on the date panel.
To choose a date, click on the day you would want to have declared a holiday.
To choose a date range, click on the day you want the holiday to begin and the day you want it to end.
-
Select Time
Holiday time is set to All Day as a default.
The holiday time can also be changed by the user simply moving the dot on the circle to the desired office hour.
Click the OK button so save changes.
Click the Cancel button to discard changes.
-
Recurring
Check the box if you would like the holiday to be repeated in the upcoming years.
Uncheck the box if you do not want the holiday to be repeated in the upcoming years.
-
Create
To save the holiday, click the Create button.We
Script
Input the script to be used during the queue calls.
Click create to save
Settings
When enabled, it allows the user to make wrap-up notes for this queue.
When enabled, it allows the user to make wrap-up notes and will only appear after calls in this queue.
When enabled, it will show the contact information for this queue.
When enabled, it allows the user to make queue scripts.
Click the Save button to save changes.
Choose from Existing Queue
Click on the existing IVR to select an Extension Number.
Click on the drop-down button to select an extension to use/edit.
Click the Save button to use/edit the existing profile settings of an extension.

Call Flow | Creating and Modifying Extension
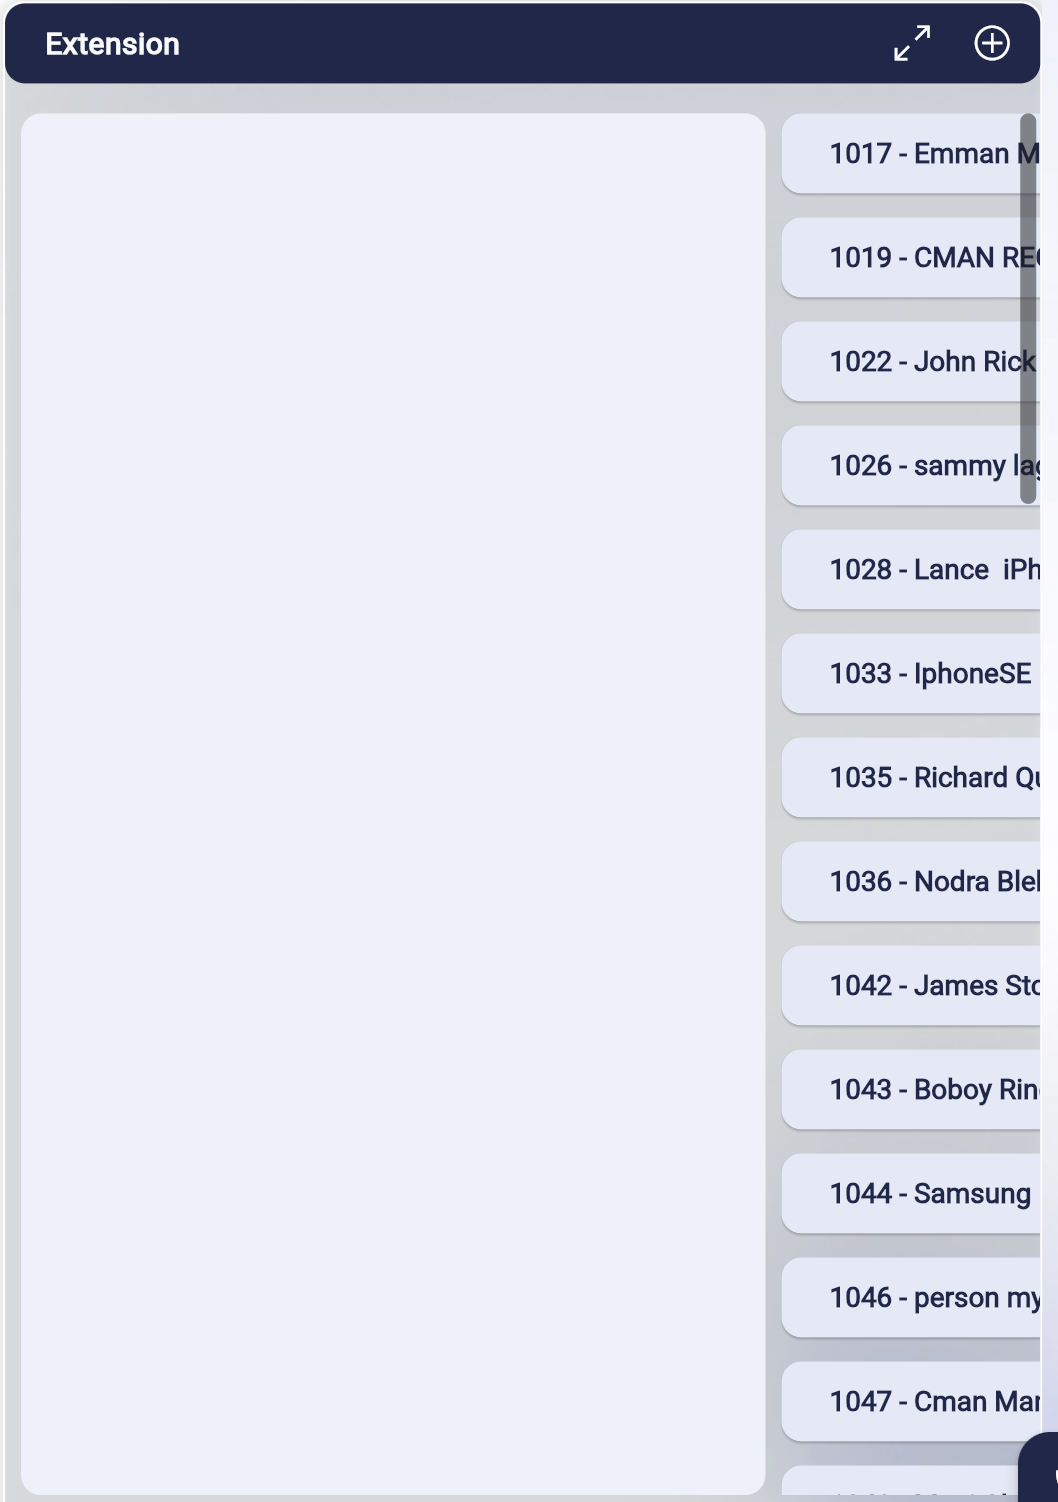
Extension
A specific number in the call center's database. It enables calls to be connected to a certain team, department, or agent. Extension numbers are also used for internal call center communication.
To Expand the Container:
Click the Expand button.

This is how it looks when expanded.
To go back to the minimized window:
Click back the Expand button.
-Using DID
-Assigning to DID via Existing IVR
-USing + button
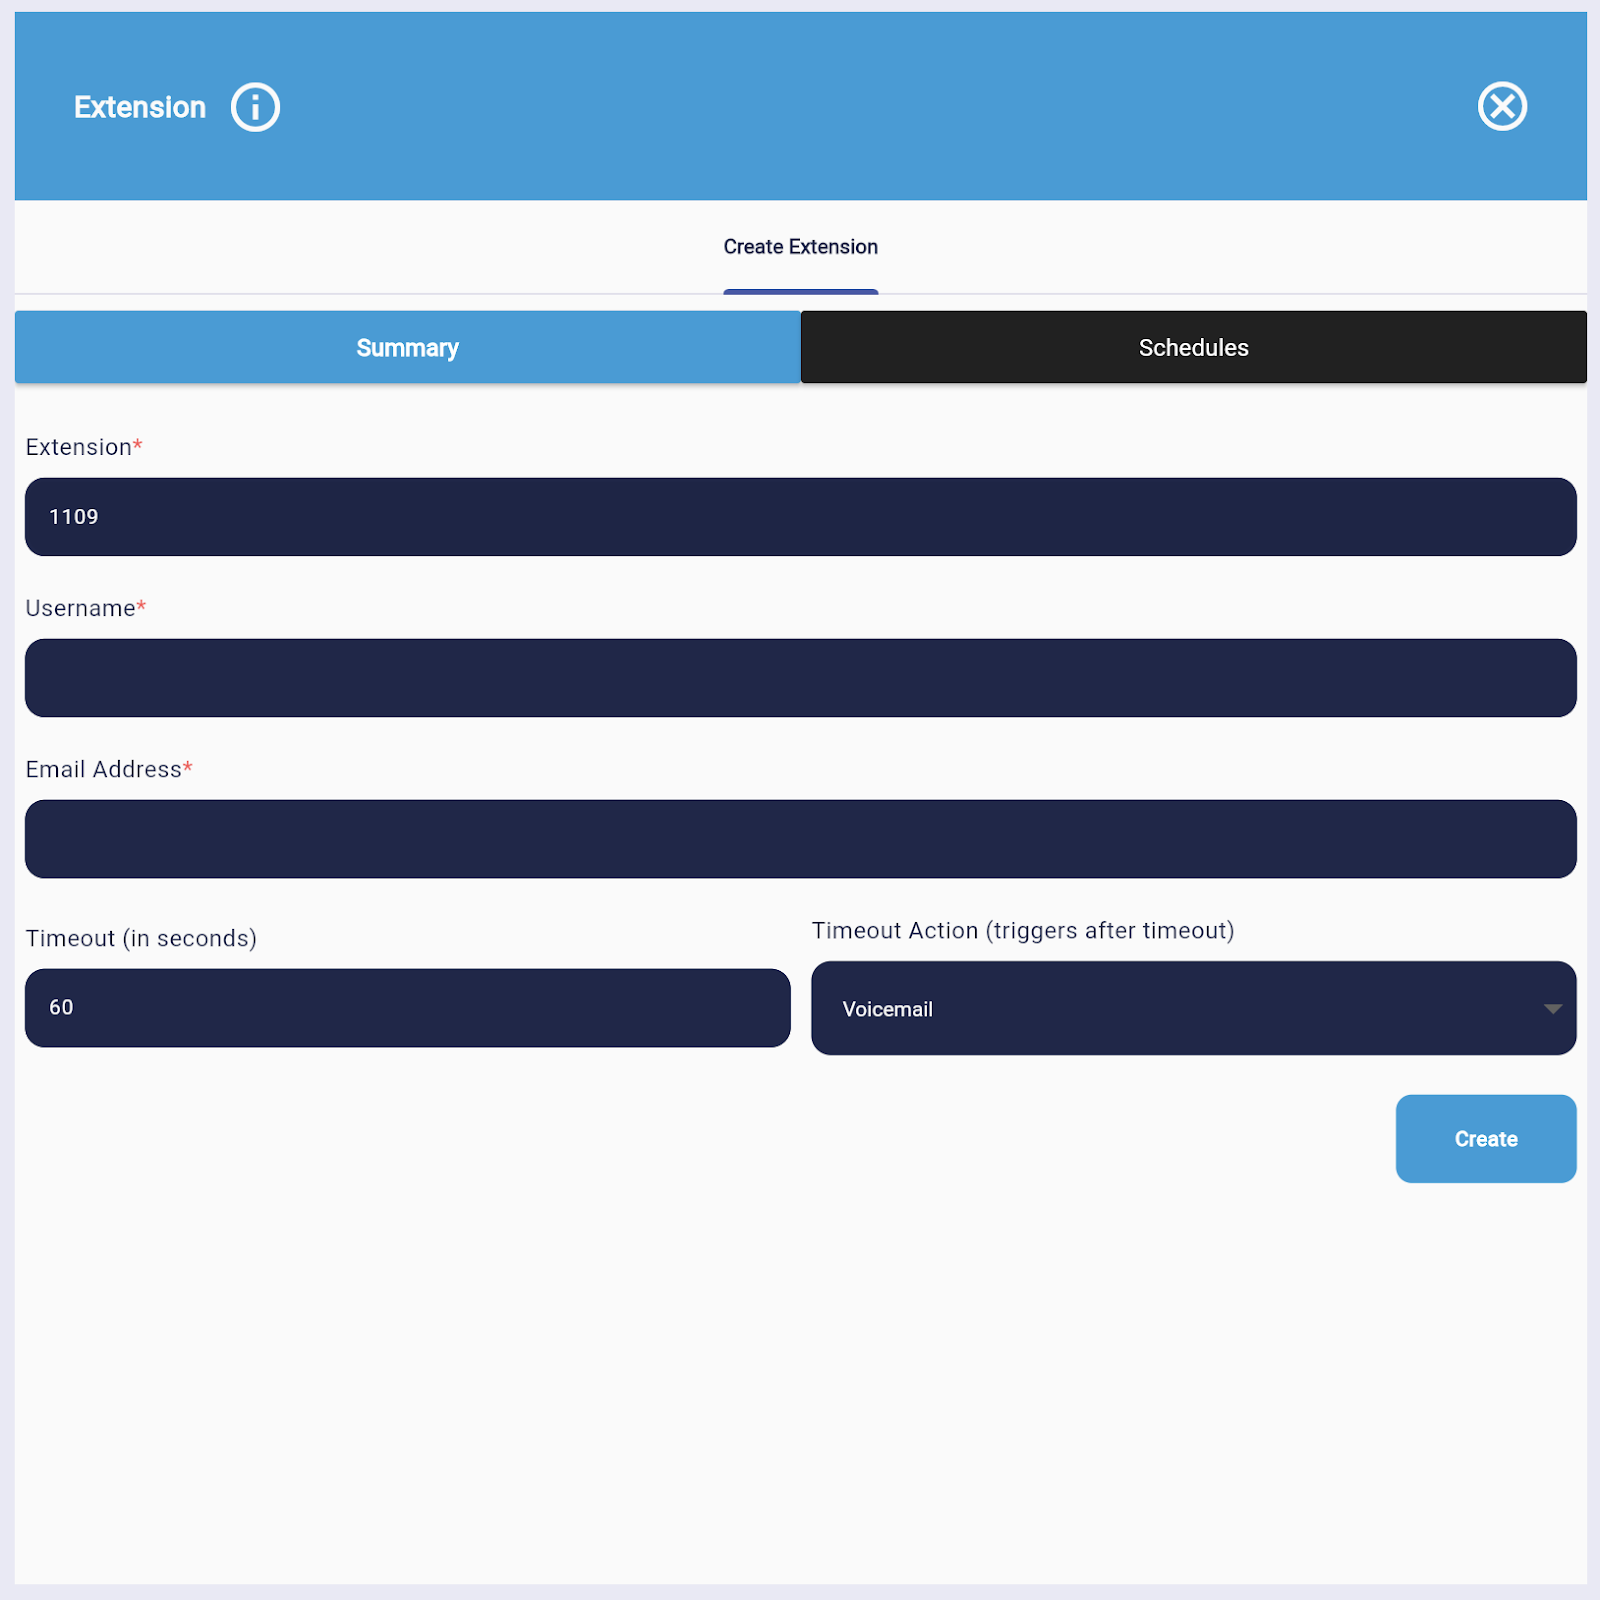
Creating Extension
Using the DID number by dragging and dropping to the Extension container.
Or by clicking the Add button.

IVR Extension Number (1000 series, with each creation increased by one)
The IVR Extension Number is automatically assigned by series of 1000, with each creation increased by one.

Extension Username
Email Address
Timeout (in seconds)

Timeout Action (triggers after timeout)
Schedules

-
Global Office Hours (sets global settings)
When Global Office Hours is enabled, the user cannot modify the office hours time and it is not possible
to select non-office hour action.

-
Office Hours (directs to current extension 1000)
When Global Office Hours is disabled, the user can adjust the office hours time and each time of the day is set to default (All Day).

The office hour time can be changed by the user simply moving the dot on the circle to the desired office hour.

Click the OK button so save changes.
Click the Cancel button to discard changes.
-
Non-Office Hours Action (triggers after office hours)
Click on the Dropdown button to select an extension, customize number, or action.


-
Global Break Hours (sets global settings)
When Global Break Hours is enabled, the user cannot adjust the office hours time and each time of the day is set to default (All Day).

-
Break Time
When Global Break Hours is disabled, the user can adjust the office hours time and each time of the day is set to default (None).

The office hour time can be changed by the user simply moving the dot on the circle to the desired office hour.

Click the OK button so save changes.
Click the Cancel button to discard changes.
-
Break Time Action (triggers during break time)
Click on the Dropdown button to select an extension, customize number, or action.


-
Exempt from Global Holidays
When enabled, the local holiday won't be applicable to the extension.
When disabled, the local holiday will be applicable to the extension.
Extension Holidays
Create Holidays
Holidays can have several effects on operations, therefore advance planning, flexible scheduling, open lines of communication with clients and employees, and techniques for sustaining service levels during peak times are crucial for call centers.

-
Fill in the fields in the Create Holiday form:

-
Holiday Name*

-
Audio File*
To choose an existing audio file to be used as the holiday music, click on the Drop-down menu.
-
Add
To upload a new audio file for the holiday, click the Add button.
-
Date*
To choose a certain day for the holiday, click on the date panel.

To choose a date, click on the day you would want to have declared a holiday.

To choose a date range, click on the day you want the holiday to begin and the day you want it to end.

-
Select Time
Holiday time is set to All Day as a default.
The holiday time can also be changed by the user simply moving the dot on the circle to the desired office hour.

Click the OK button so save changes.
Click the Cancel button to discard changes.
-
Recurring
Check the box if you would like the holiday to be repeated in the upcoming years.
Uncheck the box if you do not want the holiday to be repeated in the upcoming years.
-
Create
To save the holiday, click the Create button.We
Save Button
After setting up the IVR’s extension profile, click the Save button to save.
Editing Extension
IVR Extension Number (1000 series, with each creation increased by one)
The IVR Extension Number is automatically assigned by series of 1000, with each creation increased by one.
Extension Username
Email Address
Timeout (in seconds)
Timeout Action (triggers after timeout)
Schedules
-
Global Office Hours (sets global settings)
When Global Office Hours is enabled, the user cannot modify the office hours time and it is not possible
to select non-office hour action.
-
Office Hours (directs to current extension 1000)
When Global Office Hours is disabled, the user can adjust the office hours time and each time of the day is set to default (All Day).
The office hour time can be changed by the user simply moving the dot on the circle to the desired office hour.
Click the OK button so save changes.
Click the Cancel button to discard changes.
-
Non-Office Hours Action (triggers after office hours)
Click on the Dropdown button to select an extension, customize number, or action.
-
Global Break Hours (sets global settings)
When Global Break Hours is enabled, the user cannot adjust the office hours time and each time of the day is set to default (All Day).
-
Break Time
When Global Break Hours is disabled, the user can adjust the office hours time and each time of the day is set to default (None).
The office hour time can be changed by the user simply moving the dot on the circle to the desired office hour.
Click the OK button so save changes.
Click the Cancel button to discard changes.
-
Break Time Action (triggers during break time)
Click on the Dropdown button to select an extension, customize number, or action.
-
Exempt from Global Holidays
When enabled, the local holiday won't be applicable to the extension.
When disabled, the local holiday will be applicable to the extension.
Extension Holidays
Create Holidays
Holidays can have several effects on operations, therefore advance planning, flexible scheduling, open lines of communication with clients and employees, and techniques for sustaining service levels during peak times are crucial for call centers.
-
Fill in the fields in the Create Holiday form:
-
Holiday Name*
-
Audio File*
To choose an existing audio file to be used as the holiday music, click on the Drop-down menu.
-
Add
To upload a new audio file for the holiday, click the Add button.
-
Date*
To choose a certain day for the holiday, click on the date panel.
To choose a date, click on the day you would want to have declared a holiday.
To choose a date range, click on the day you want the holiday to begin and the day you want it to end.
-
Select Time
Holiday time is set to All Day as a default.
The holiday time can also be changed by the user simply moving the dot on the circle to the desired office hour.
Click the OK button so save changes.
Click the Cancel button to discard changes.
-
Recurring
Check the box if you would like the holiday to be repeated in the upcoming years.
Uncheck the box if you do not want the holiday to be repeated in the upcoming years.
-
Create
To save the holiday, click the Create button.We
Save Button
After setting up the IVR’s extension profile, click the Save button to save.

Creating and Modifying Conferences
Conferences
Is an assembly of people who share ideas, best practices, and innovations in call center management, technology, and operations on a platform that is offered. Professionals can acquire new ideas, maintain current knowledge of industry advancements, and create beneficial relationships with other members of the customer service community by attending conferences.
To Expand the Container:
Click the Expand button.

This is how it looks when expanded.
To go back to the minimized window:
Click back the Expand button.
Creating Conference
Using the DID number by dragging and dropping to the IVR container.
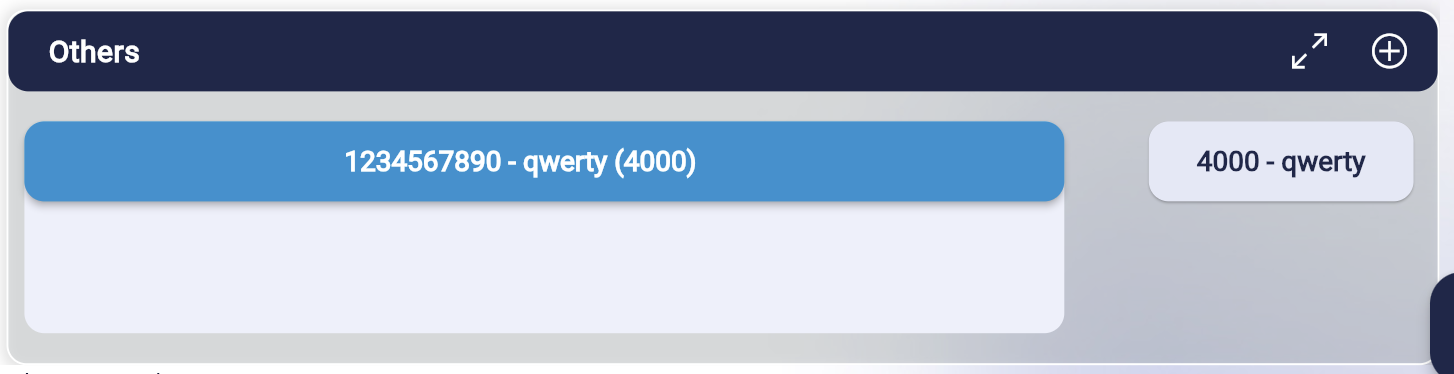
Or by clicking the Add button.

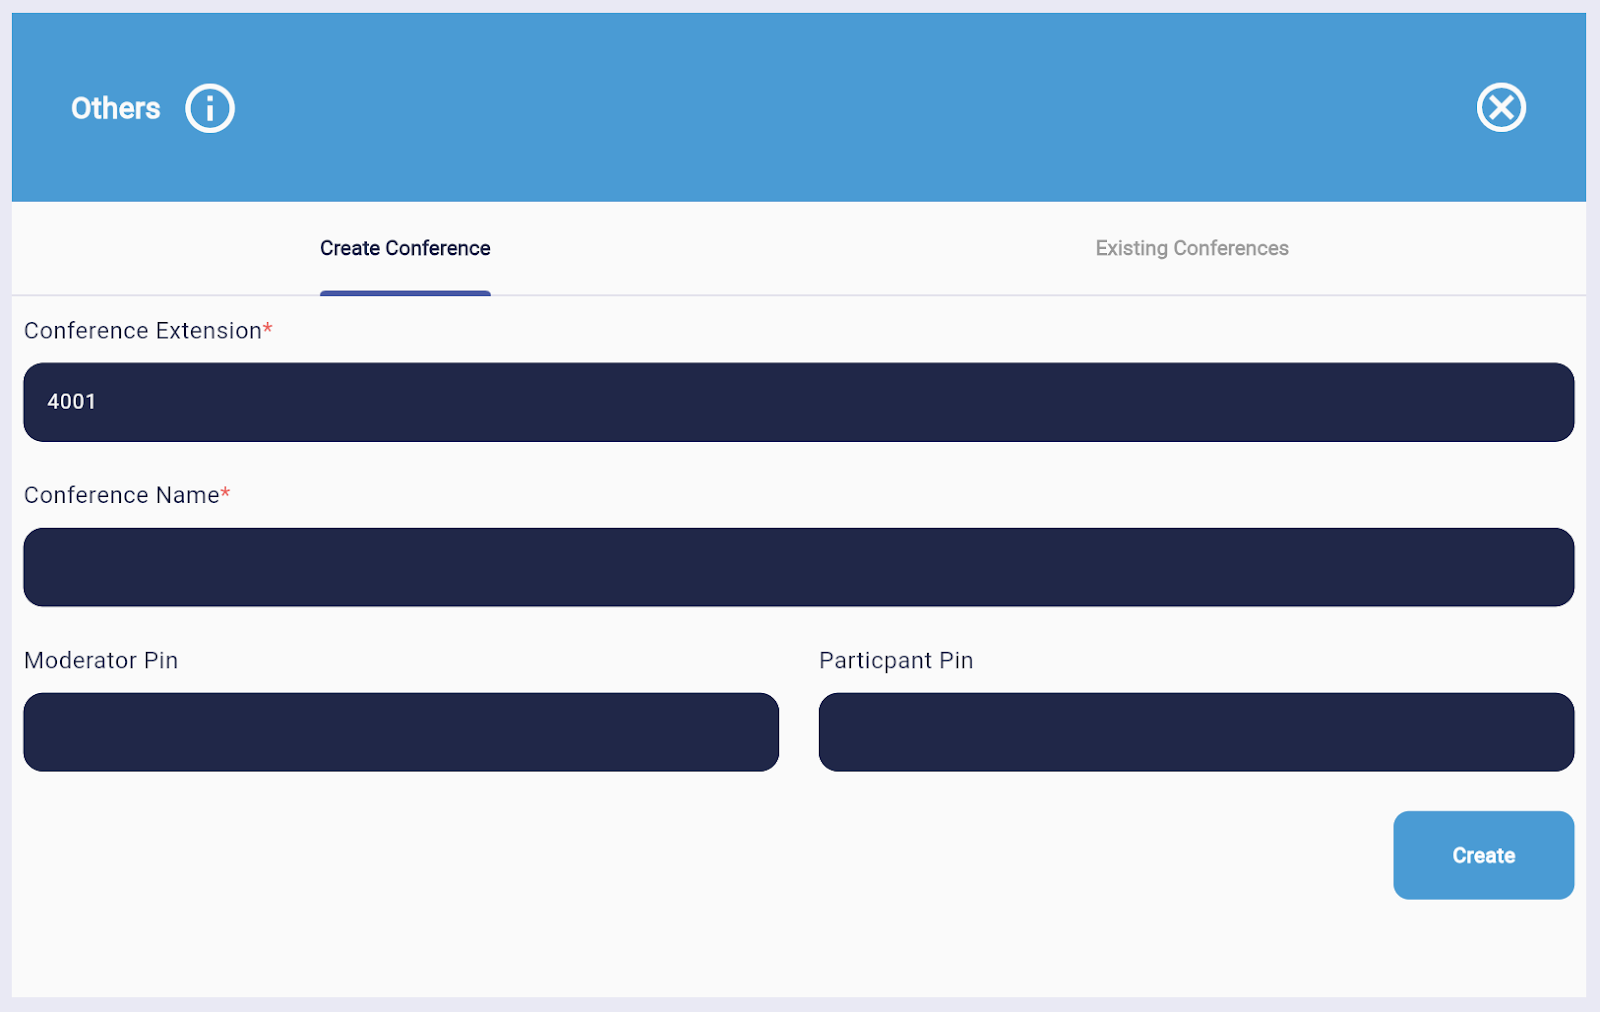
IVR Extension Number (6000 series, with each creation increased by one)
The COnference Extension Number is automatically assigned by series of 4000, with each creation increased by one.
Enter the Conference name.
Enter the Moderator’s Pin number to be used for this conference. (This will also serve as a sign in access to become a moderator in the conference to be able to add participants, kick participants, recall a participant, and mute a participant.)

Enter the Participant’s Pin number to be used for this conference. ( This will also serve as a sign in access for the conference to join as a participant only.)

Click the create button to save.
Editing Conference
Click on the selected conference extension.

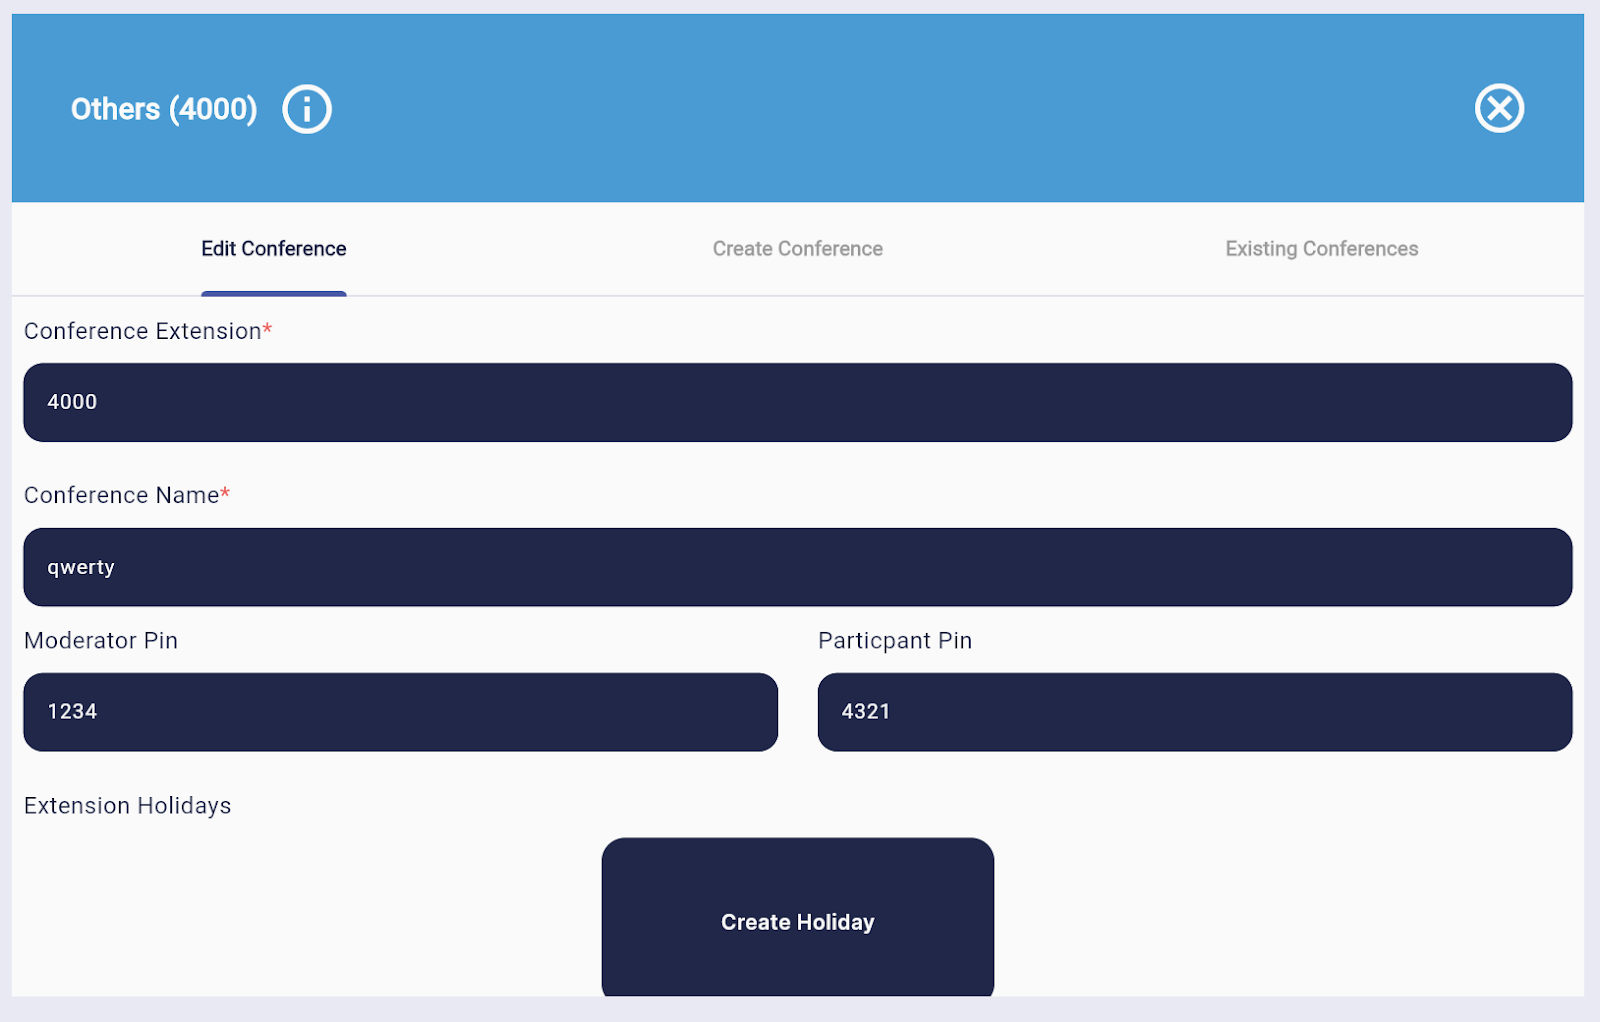
The COnference Extension Number is automatically assigned by series of 4000, with each creation increased by one.
Enter the Conference name to change.
Enter the new Moderator’s Pin number to be used for this conference. (This will also serve as a sign in access to become a moderator in the conference to be able to add participants, kick participants, recall a participant, and mute a participant.)
Enter the new Participant’s Pin number to be used for this conference. ( This will also serve as a sign in access for the conference to join as a participant only.)
Create Holidays
Holidays can have several effects on operations; therefore, advance planning, flexible scheduling, open lines of communication with clients and employees, and techniques for sustaining service levels during peak times are crucial for call centers.
Fill in the fields in the Create Holiday form:
Holiday Name*

Audio File*

To choose an existing audio file to be used as the holiday music, click on the Drop-down menu.
Add
To upload a new audio file for the holiday, click the Add button.
Date*
To choose a certain day for the holiday, click on the date panel.

To choose a date, click on the day you would like to have declared a holiday.
To choose a date range, click on the day you want the holiday to begin and the day you want it to end.
Select Time
Holiday time is set to All Day as a default.
The holiday time can also be changed by the user simply moving the dot on the circle to the desired office hour.
Click the OK button to save changes.
Click the Cancel button to discard changes.
Recurring
Check the box if you would like the holiday to be repeated in the upcoming years.
Uncheck the box if you do not want the holiday to be repeated in the upcoming years.
Create
To save the holiday, click the Save button.
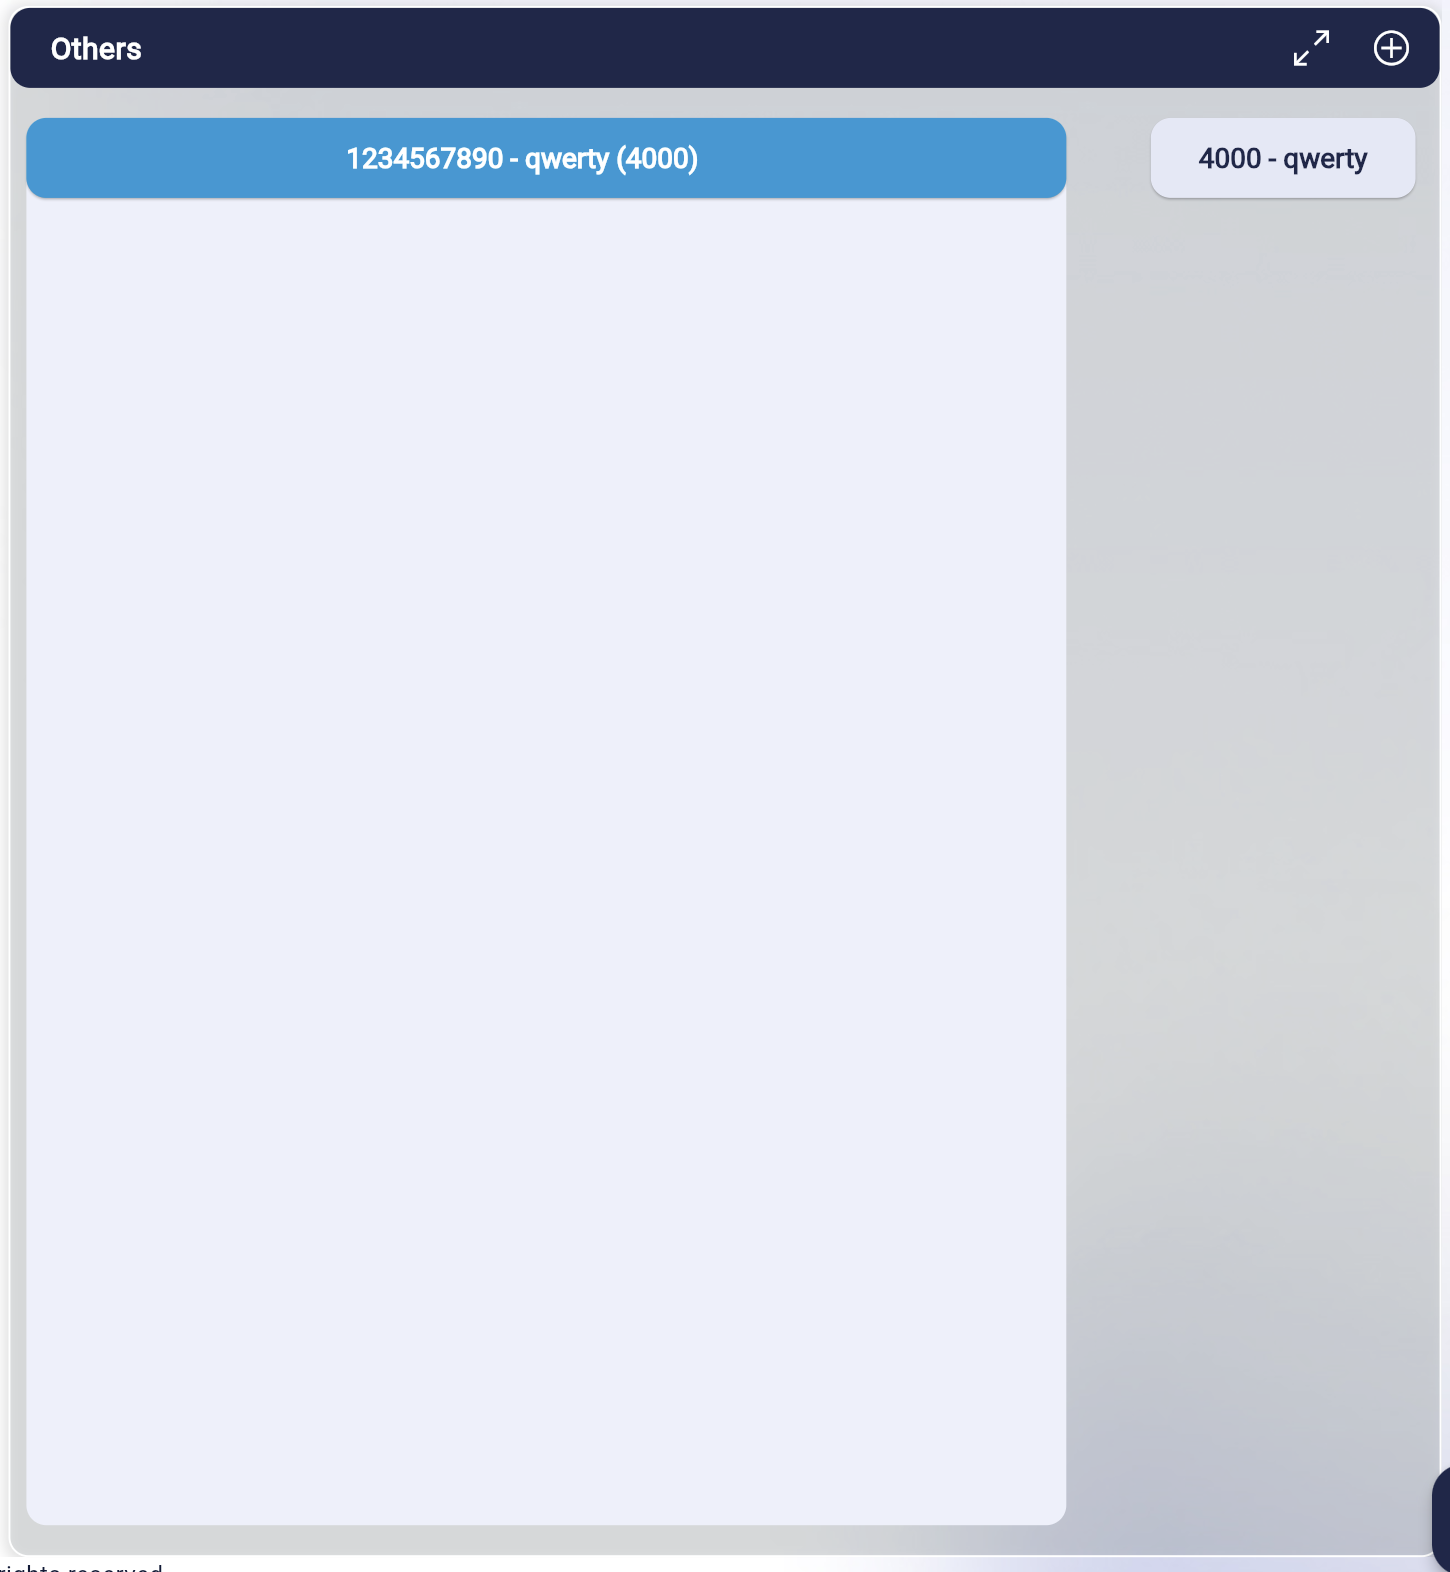
Choosing from Existing Conference.
Assign a DID to go to the existing conferences.
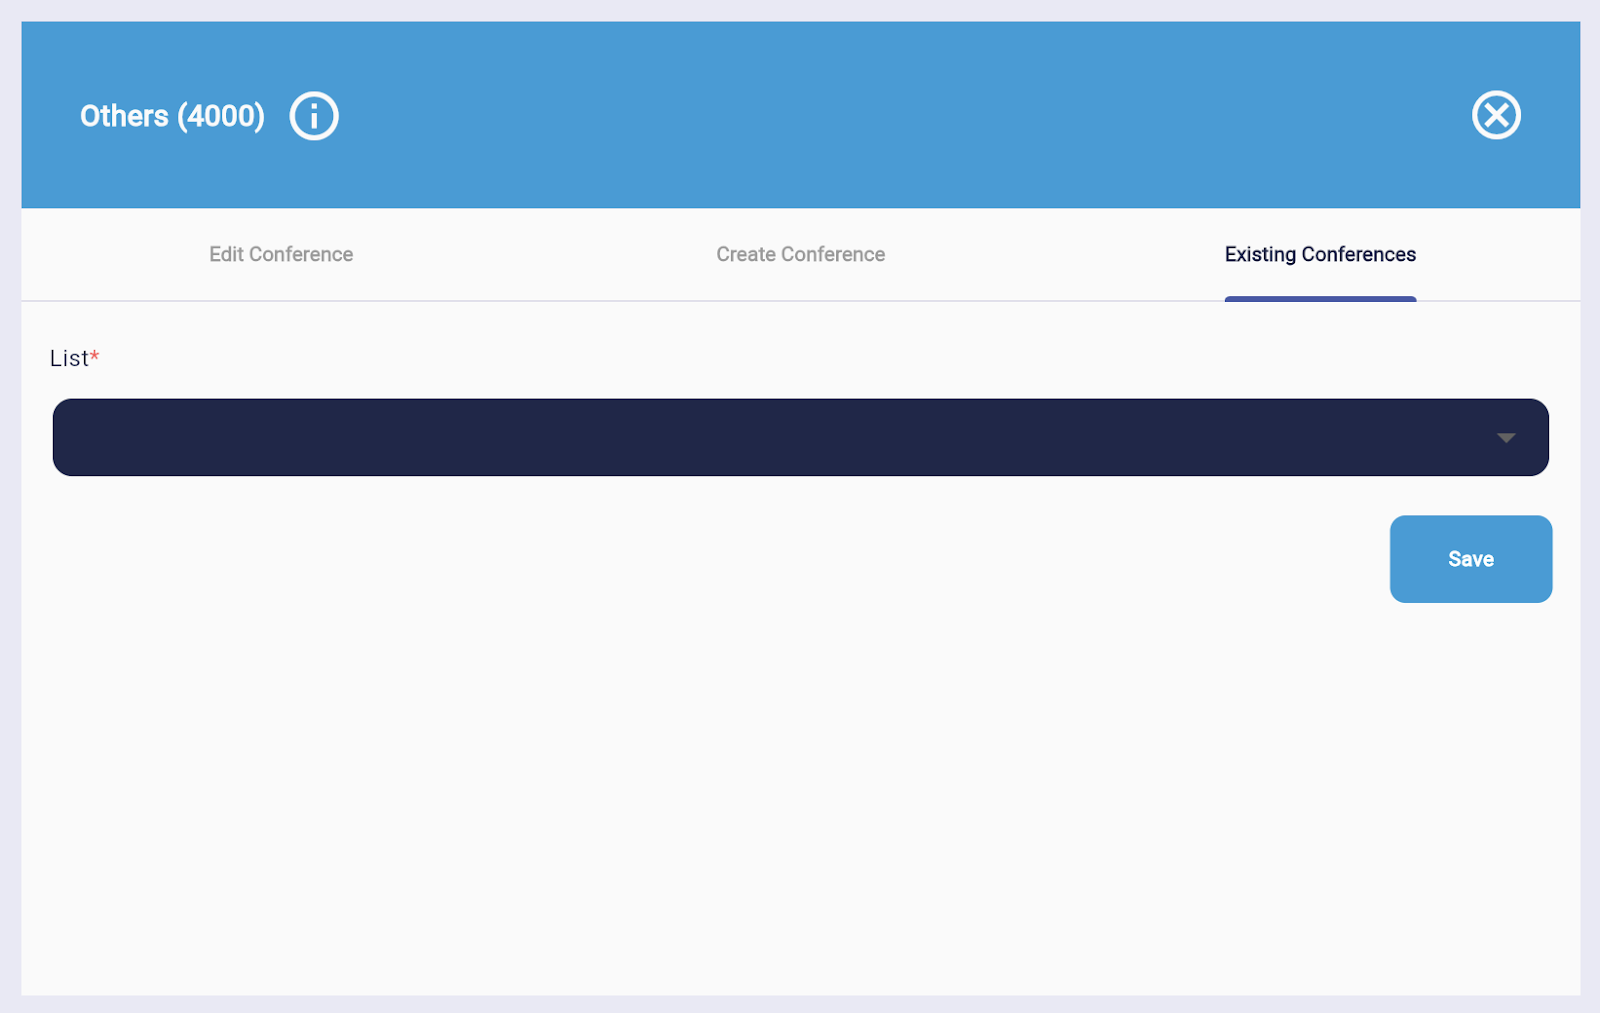
Click on the drop-down to select from the existing extension.
Click the save button.

Chat Integrations User Guide
To be posted once the UI and UX are completed.
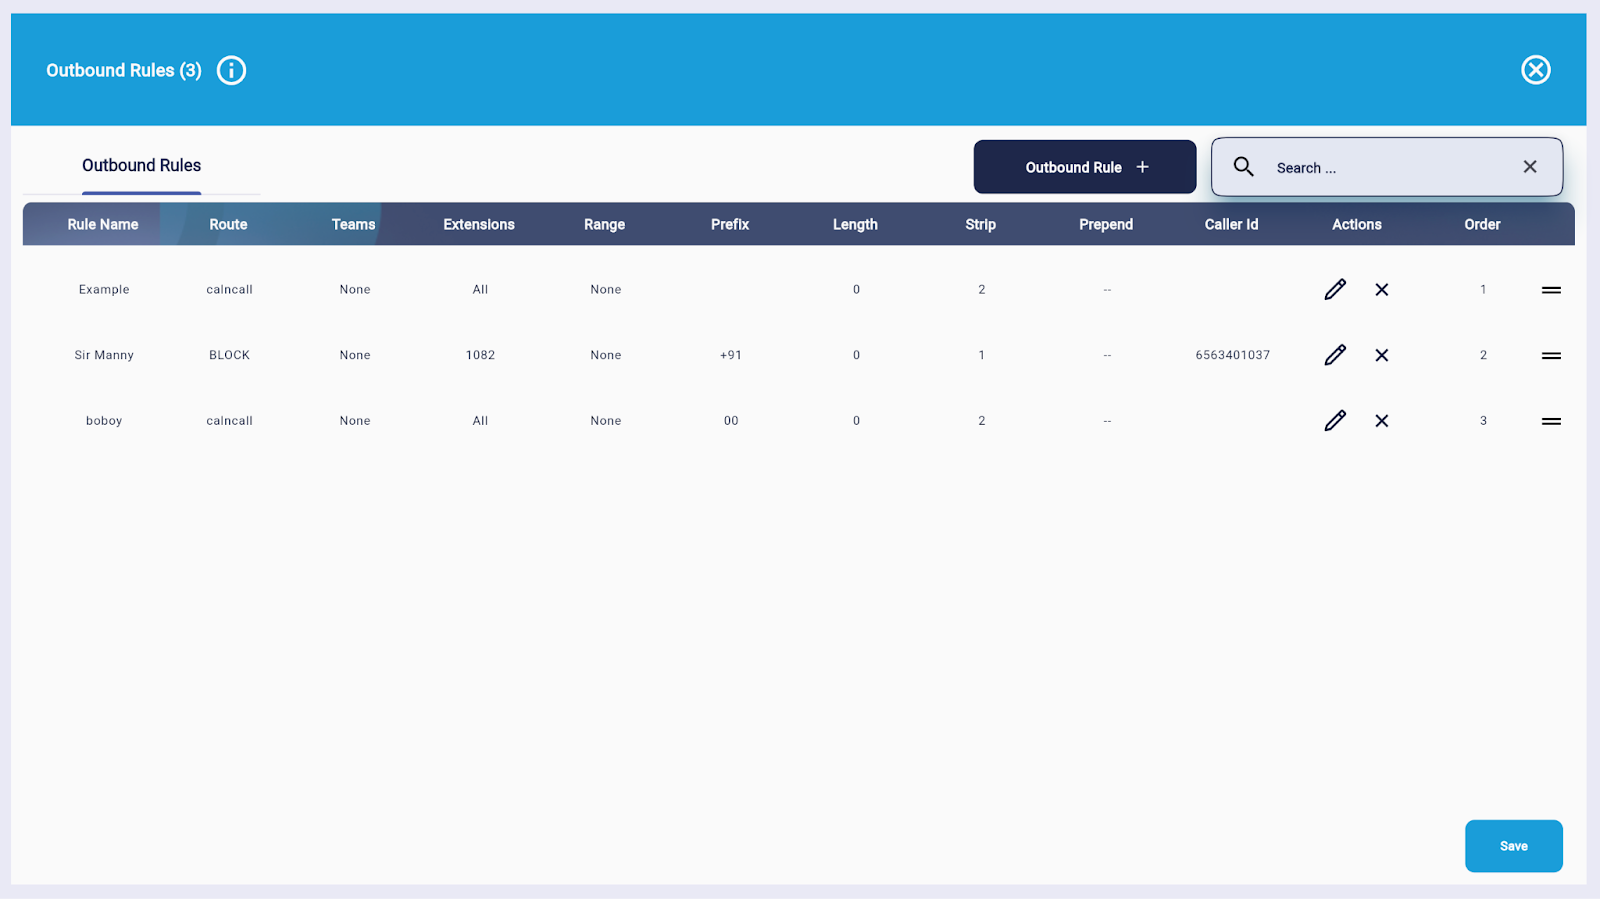
Creating and Modifying Outbound Rules
Outbound Rules
Outbound rules in a call center app dictate how outgoing calls are managed and routed. These rules are essential for ensuring efficient communication with customers and prospects. This user guide provides comprehensive instructions on configuring and utilizing outbound rules within the call center app.
To get to it:
Go to the Side Menu bar

Click Settings
Click Global
On the General Settings, choose Language and Office Hours
Creating Outbound Rules
Click on the "Create Rule" or similar button.

Fill up all the fields to create an Outbound Rule
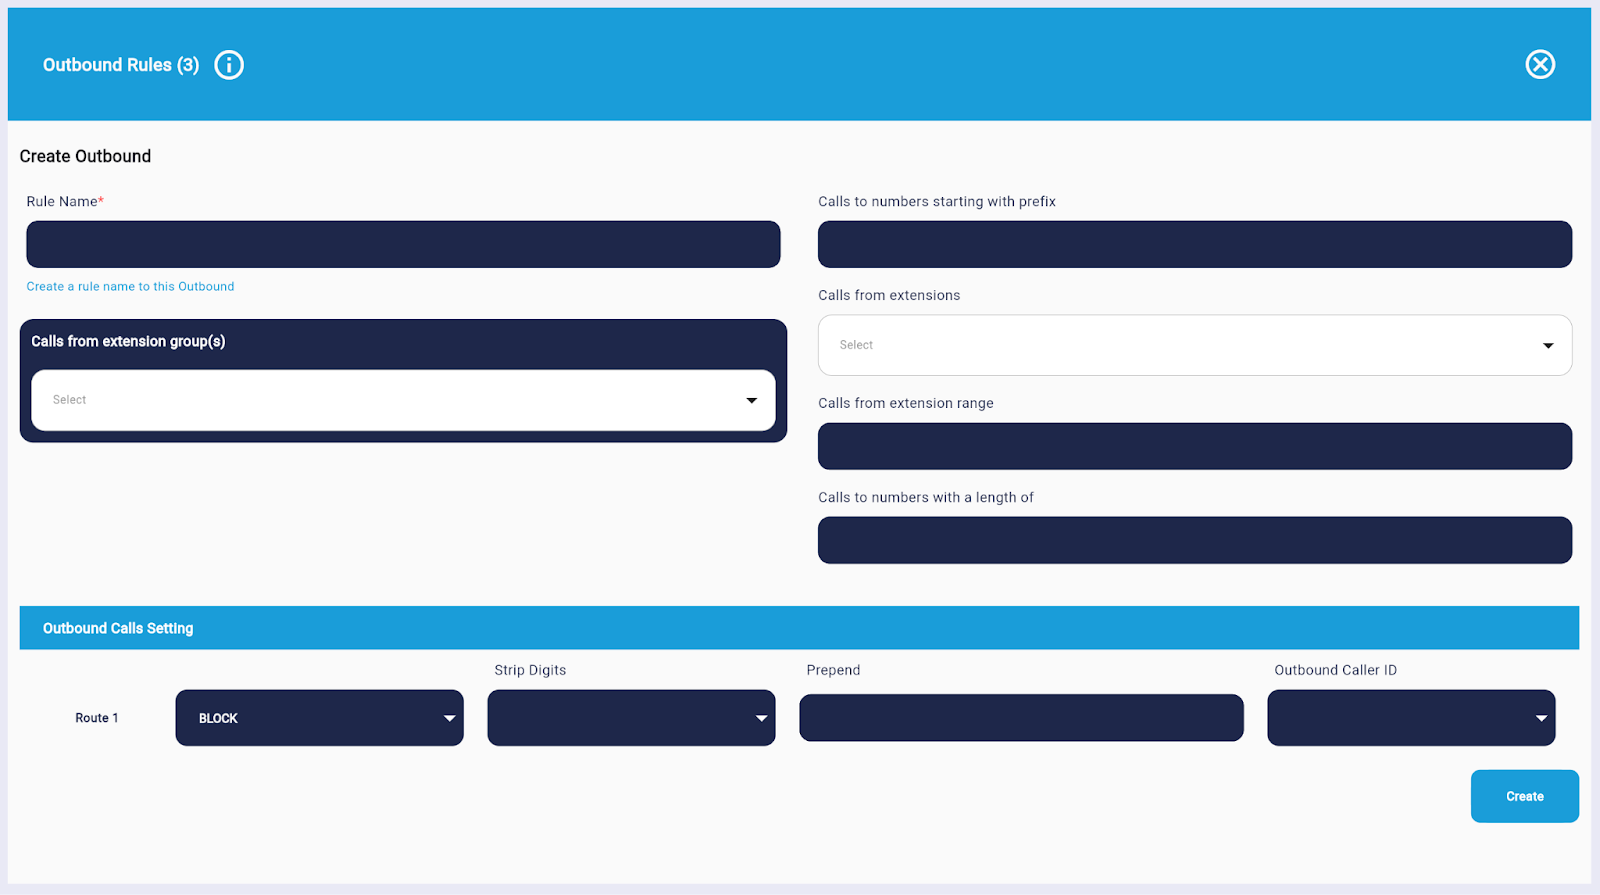
Provide a name for the rule to easily identify its purpose.

Input the digits that are dialed before the actual phone number when making outgoing calls.

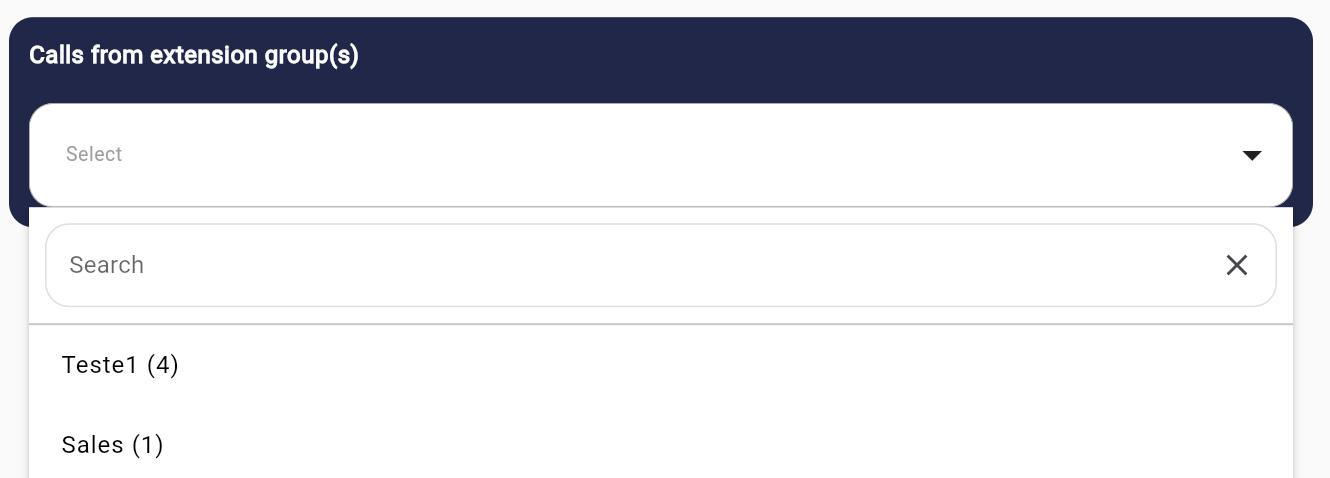
Selectr calls from extension group(s)
Select call from extensions
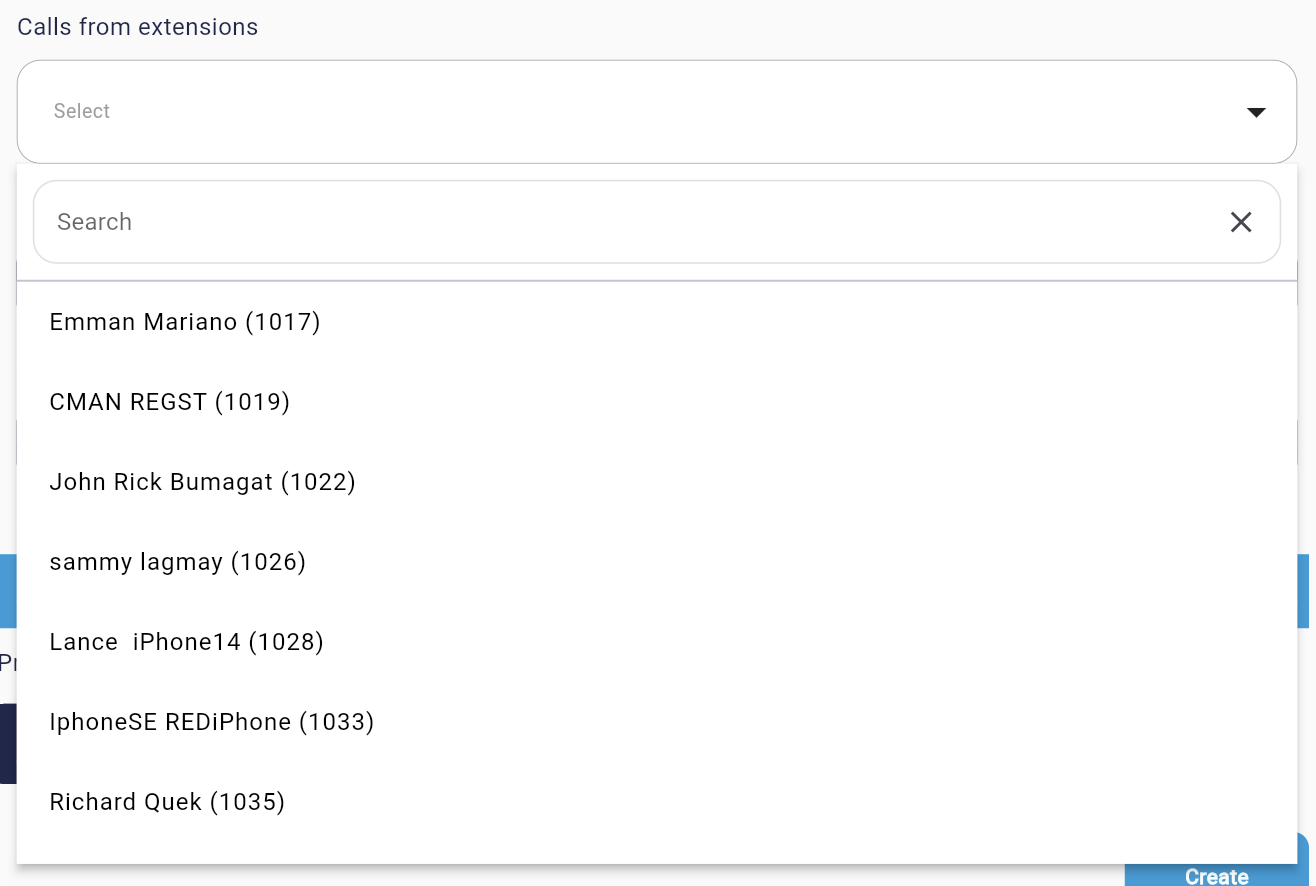
Select call from extension range

Input calls to numbers with a length of

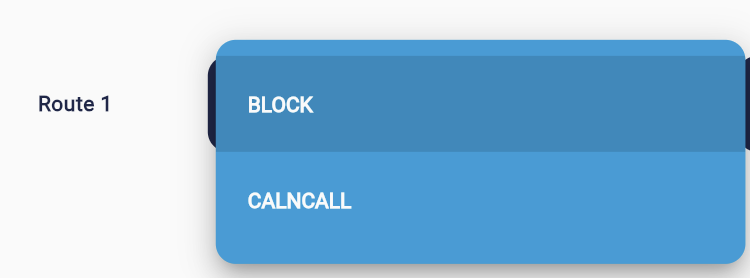
Select an action for route 1
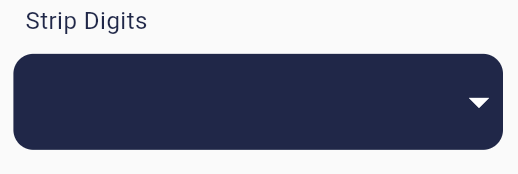
Select digits to strip

Input the prepend
Select Outbound Caller ID

Click Create to save the Outbound Rules Profile

Managing Outbound Rules
Once created, outbound rules can be managed as follows:
Edit: Modify the conditions or actions of an existing rule.
Delete: Remove a rule that is no longer needed.
Reorder: Move up or down to set priority
Troubleshooting Outbound Rules
If you encounter issues with outbound rules, consider the following troubleshooting steps:
-
Check the rule configuration for any errors or inconsistencies.
-
Verify that the rule is enabled and activated.
-
Ensure that the call center app is properly integrated with your telephony system.
-
Contact customer support for further assistance if needed.
Setting Up Your Global Office Hours, Break Time, and Holidays
Global Settings for Language and Office Hours
To get to it:
Go to the Side Menu bar
Click Settings
Click Global
On the General Settings, choose Language and Office Hours
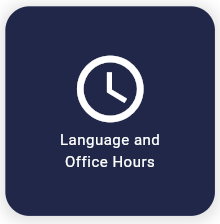
Language and Office Hours page
Global Office Hours (Setting Global Office Hours)
Global office hours are essential for efficiently handling call volume and guaranteeing reliable customer support across time zones.

Click on the day to modify the time

Click the OK button to save changes.
Click the Cancel button to discard changes.
Non-Office Hours Action (Triggering Actions Outside Office Hours)
Click on the drop-down button to select an extension, customized number, or action.
Global Break Hours (Setting Global Break Hours)


Click the OK button to save changes.
Click the Cancel button to discard changes.
Global Break Hours (sets global settings)
Within an organization, global break hours enable the common scheduling of breaks for various teams and time zones.

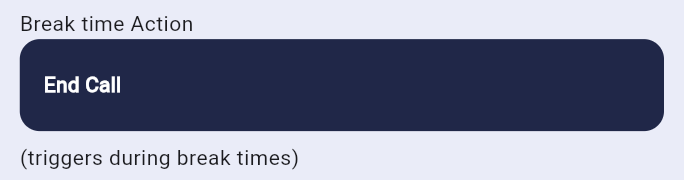
Break Time Action (Triggering Actions During Break Time)
Click on the drop-down button to select an extension, customized number, or action.
Exempt from Global Holidays
When enabled, the local holiday won't be applicable to the extension.
When disabled, the local holiday will be applicable to the extension.
Global Holidays Holidays
Holidays can have several effects on operations, therefore advance planning, flexible scheduling, open lines of communication with clients and employees, and techniques for sustaining service levels during peak times are crucial for call centers.
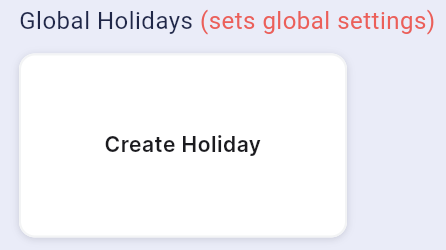
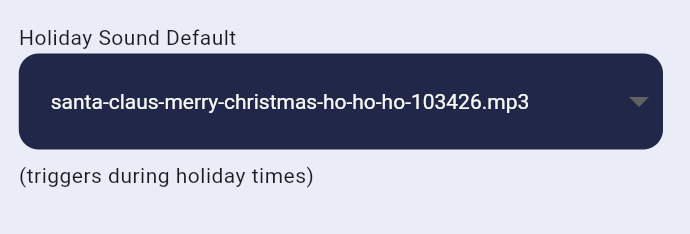
Holiday Sound Default Sound
Fill in the fields in the Create Holiday form:

Holiday Name*

Audio File*
To choose an existing audio file to be used as the holiday music, click on the Drop-down menu.
Add
To upload a new audio file for the holiday, click the Add button.
Date*
To choose a certain day for the holiday, click on the date panel.

To choose a date, click on the day you would want to have declared a holiday.

To choose a date range, click on the day you want the holiday to begin and the day you want it to end.

Select Time
Holiday time is set to All Day as a default.

The holiday time can also be changed by the user simply moving the dot on the circle to the desired office hour.
Click the OK button so save changes.
Click the Cancel button to discard changes.
Recurring
Check the box if you would like the holiday to be repeated in the upcoming years.
Uncheck the box if you do not want the holiday to be repeated in the upcoming years.
Create
To save the holiday, click the Create button.We
Creating and modifying Available DID Numbers
Call Flow
A predetermined course or series of procedures that a call follows from the time it enters the system until it is completed. Call flows are created to guarantee effective handling of incoming calls, deliver dependable customer support, and accomplish particular corporate goals.
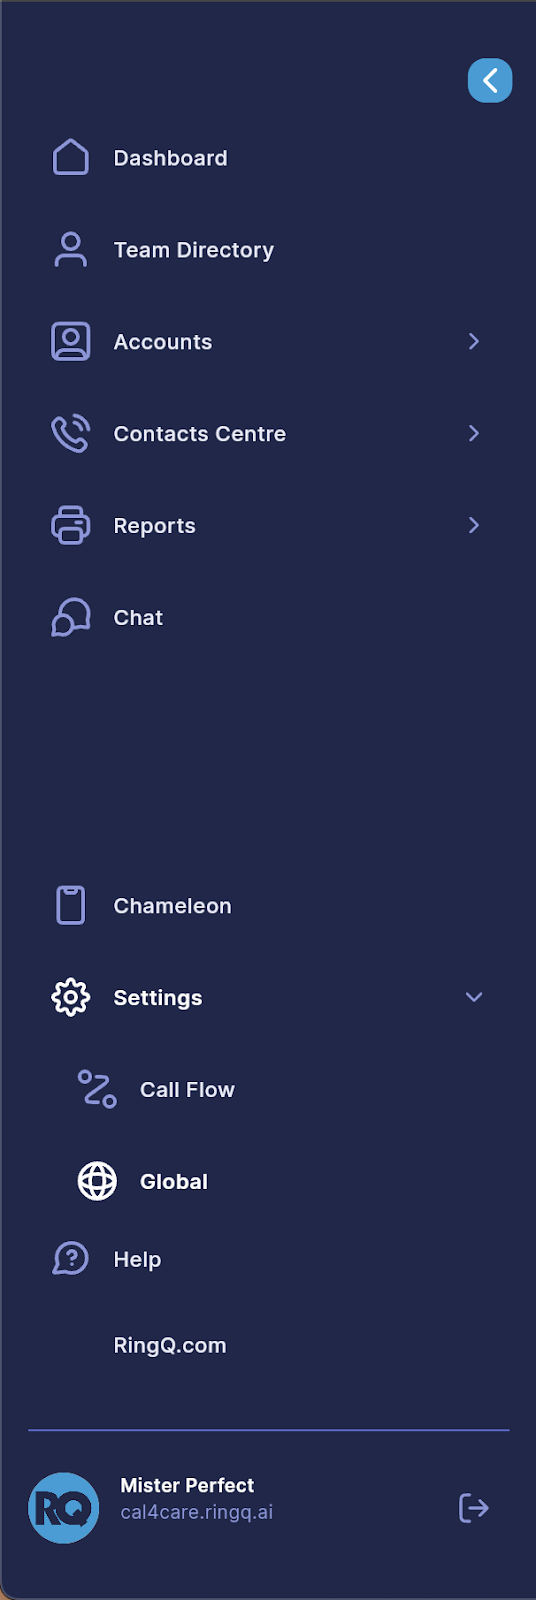
How to get to it:
You Go to the Side Menu
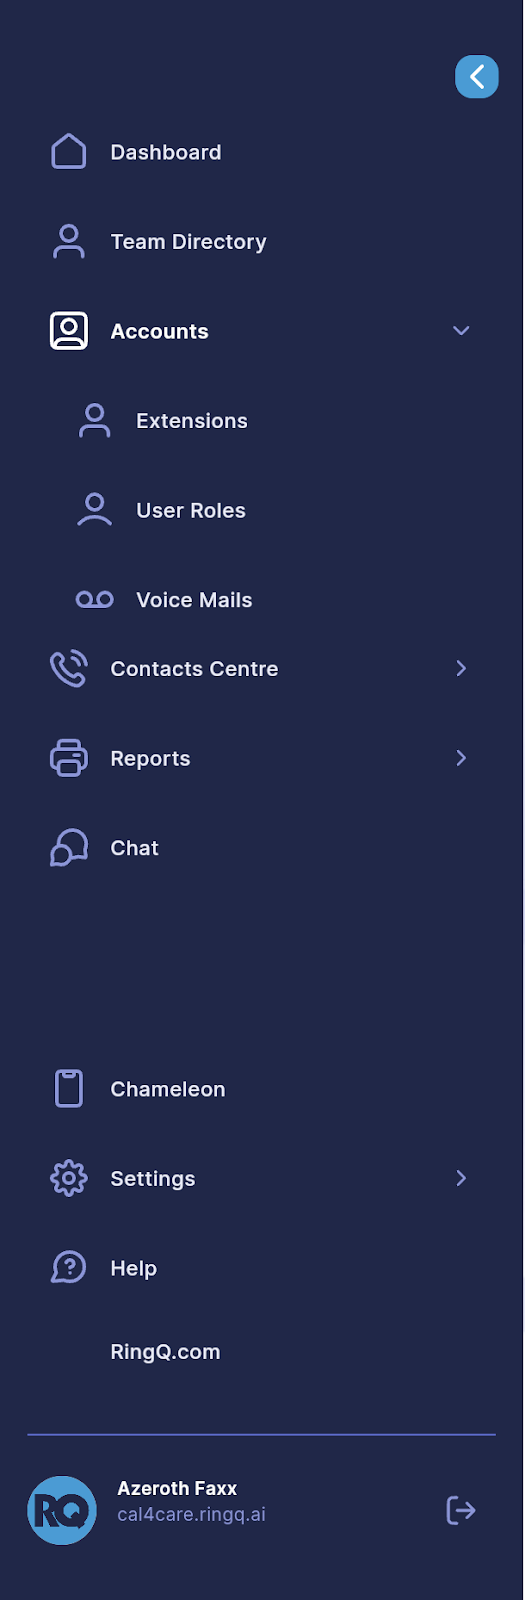
Click the Settings
Click the Call Flow
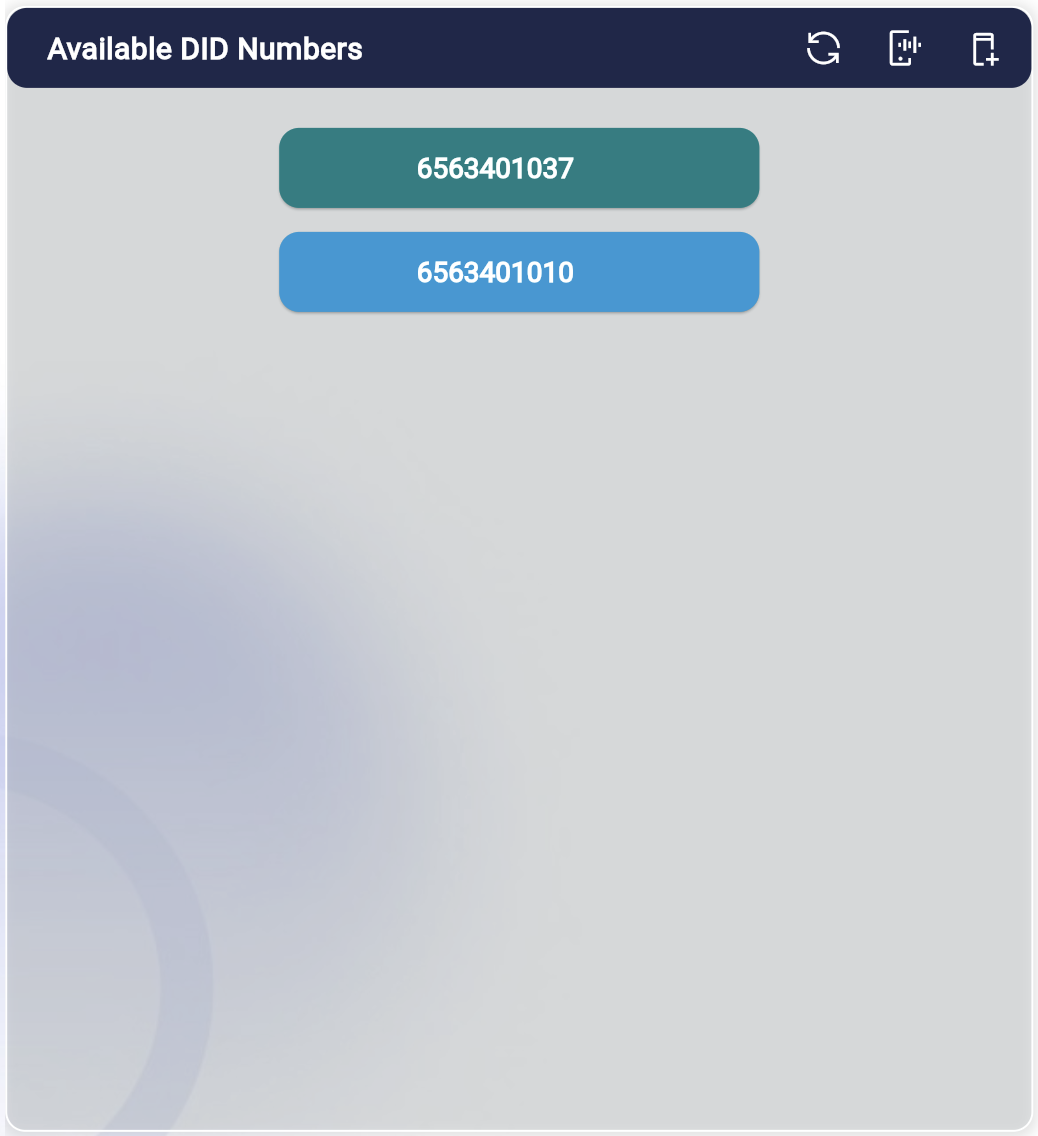
Available DID Numbers
A DID (Direct Inward Dialing) number allows callers to connect with a specific individual directly through a company's phone system. The call can be directed without the assistance of a receptionist or operator by assigning each DID number to a particular extension or route within the company.
Clear Cache
A process of deleting temporary files stored in the system.
To clear the cache, click the "Clear Cache" button.
Gateways
It is usually utilized in private branch exchange (PBX) systems to assign DID numbers to particular extensions or lines. The gateway directs the calls to DID numbers to the appropriate extension or extensions assigned, depending on the dialed number.

To get to the gateway:
Click the "Gateway" button.
To create a gateway:
Click the "Create Gateway" button.
Enter the Gateway name.

Enter the Proxy.

Enter the Username.

Enter the Password.

Click the Create button to save a gateway.

To Delete the Gateway:
Click the Delete button to remove the gateway.
A confirmation notice will appear to confirm the deletion.
Creating DID
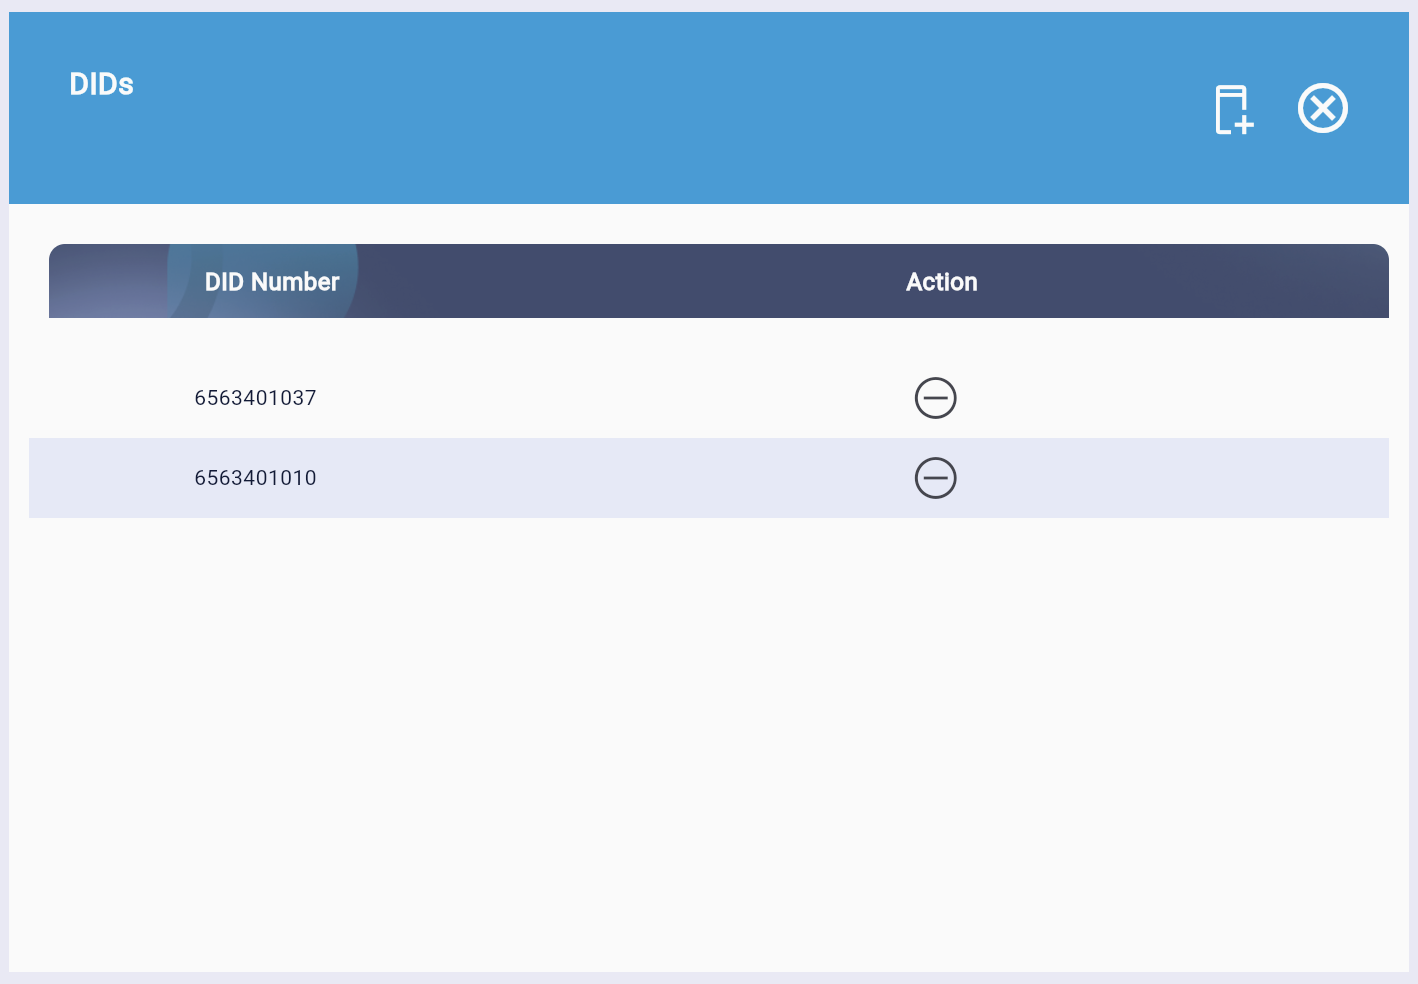
Click the "Add DID" button.
Click Add button
On the panel, enter the preferred DID number.

Click the Create button to generate a new DID number.
A confirmation notice verifying the successful creation of the DID will appear.
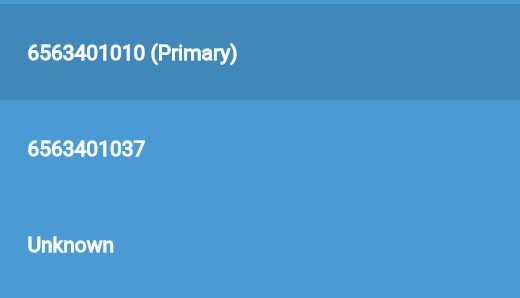
Selecting DID as the Primary Outgoing ID
Select a DID

Sky blue is the DID's default color.
Click and hold for just a moment.

A pop-up notification will appear to confirm that DID has been set as the primary outgoing ID.
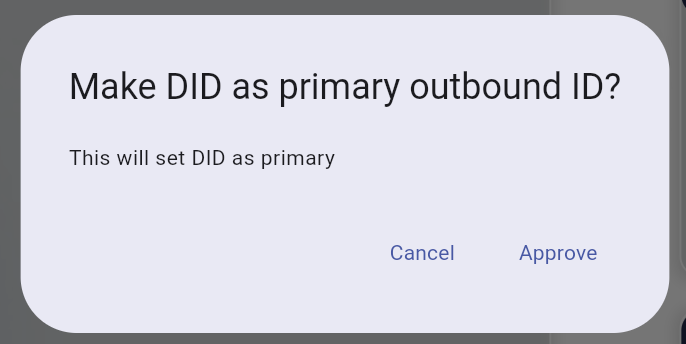
To confirm, click the "Approve" button.
To ignore, click the Cancel button.
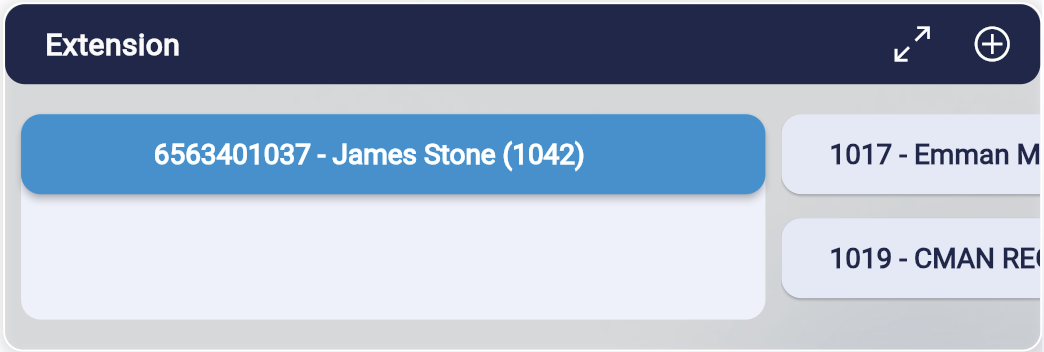
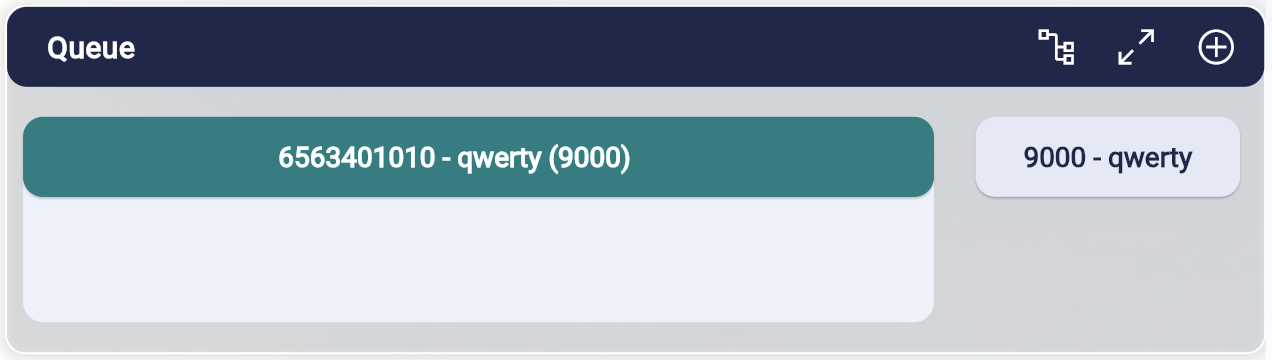
Assigning DID Number to Conference, Extension, Queue, and IVR
Click and hold for a moment
Drag and drop the DID number to Conference, Extension, Queue, or IVR container to assign.
IVR (Interactive Voice Response)

Queue
Extension

Others (Conference)

How the Call Landing Works
Call Landing Features and Functions
-
It is the moment when a call is successfully routed to an agent or representative who is going to pick up the call. This is the last stage of the call routing process, when the system chooses the most appropriate call destination based on the caller's needs, the time of day, and the agent's availability, and other considerations.
How the Queue Call Landing Works
Queue Call Landing
Queue Call Landing refers to the process or system involved in managing incoming calls that enter a call queue. In various communication systems, especially in customer service and support environments, a call queue is a feature that holds and organizes incoming calls until they can be directed to an available agent or representative. Here’s a breakdown of what Queue Call Landing typically involves:
Call Queuing
When a call comes in, it's placed into a queue if no agents are available to take the call immediately. This helps in managing high volumes of calls and ensures that each call is handled in an orderly manner.
Call Landing
This refers to the process by which a call enters the queue and is managed according to pre-set rules or configurations. It includes:
-
Initial Routing: Deciding which queue the call should enter based on various criteria such as the time of day, the caller's needs, or the skills required.
-
Queue Management: Handling the call within the queue until an agent is available. This might include playing hold music, providing estimated wait times, or offering self-service options.
-
Call Distribution: Once an agent becomes available, the system decides how to route the call to the agent. This might involve distributing calls based on agent skills, availability, or other rules.
Configuration Options
Queue Call Landing often includes various settings and options, such as:
-
Enable/Disable Options: For features like showing or hiding the contact number, or whether to provide information about the caller before connecting them to an agent.
-
Real-Time Controls: Adjustments that can be made in real-time, such as changing how calls are handled or routed while they are in the queue.
-
Redirects: Options to redirect calls to different URLs or CRM systems based on queue settings.
Integration with Other Systems
Queue Call Landing may also involve integration with other systems, such as:
-
CRM Systems: To provide agents with contextual information about the caller.
-
Analytics and Reporting Tools: To track call queue performance, such as average wait times, abandonment rates, and agent performance metrics.
How to Create a Facebook Page
How to Create a Facebook Page
-
Access Facebook Business
Open your browser and go to the Facebook Business website.

-
Log in to Your Facebook Account
Enter your credentials and log in to your Facebook account. Make sure you are using the account you want to manage the new page with.

-
Go to the Facebook Business Page Management
Once logged in, navigate to the Facebook Business Manager. This is where you will manage your pages and business settings.

-
Navigate to Pages
Under the settings, look for the Pages option in the sidebar. This will allow you to view and manage all the pages linked to your account.
-
Create a New Page
- Click the Add button, then select Create New Page.
- You will be prompted to choose between different page types such as Business, Brand, or Community. Select the one that fits your needs.

-
Fill Out the Page Details
- A form will appear asking for details about your new page. You will need to provide information like the page name, category (e.g., restaurant, retail, service, etc.), and a description.
- Once all required fields are filled in, click Create Page.

-
Your Page is Created
After submitting the form, your new Facebook page will be created. You can now customize it further by adding a profile picture, cover photo, and additional details such as location, hours, and contact information.

Setting Up a Webhook App URL on Facebook
Setting Up a Webhook App URL on Facebook
-
Access Facebook Developer Dashboard
Open your browser and go to the Facebook Developer Apps Dashboard. This is where you can manage and configure your apps.
-
Select Your App
Once on the dashboard, you'll see a list of your existing apps. Find and click on the app for which you want to set up a webhook. The App ID for each app will be displayed here.
-
Retrieve the App Secret Key
To get the App Secret Key, follow these steps: -
Navigate to the Settings section on the left sidebar.
-
Under Settings, click on Basic. Here, you’ll find the App Secret Key, which you’ll need for authentication purposes.
-
Obtain an Expiring Access Token
To get an expiring access token for API calls or testing, visit the Access Token Tool. Generate the token for the app you’re working on, but keep in mind that tokens expire after a certain period.
-
Create Your Webhook URL
Using a programming language that supports HTTP callbacks (such as Python, PHP, Node.js, etc.), create a Webhook URL. This URL will handle incoming requests from Facebook's webhook system.
-
Add the Webhook Product
-
Go back to your Facebook app’s dashboard.
-
In the left sidebar, click Add Product, and from the list, locate Webhooks. Click on it to add the Webhook feature to your app.
-
Configure the Webhook
-
After adding the Webhook product, you can now configure it.
-
Attach your callback URL (the one you created in step 5). Facebook will send a verification request to this URL to confirm it is valid.
-
In the process, you will also need to generate your App Token and provide the necessary subscription fields (e.g., user profile updates, page events) that your webhook will listen to.
-
Verify and Activate the Webhook
Once you submit the callback URL and select the necessary subscriptions, Facebook will verify the webhook by sending a challenge request to the callback URL. Ensure your server responds correctly to this verification. Once verified, your webhook will be live and ready to receive event notifications.
How to Create a Permanent Access Token for Facebook
How to Create a Permanent Access Token for Facebook
Ensure You Have a Business-Type App
If you already have a Facebook app that is classified as Business type, you can skip to Step 4. Otherwise, follow the steps below to create one.
Create a Business-Type App
-
Go to the Facebook Developer Apps Dashboard.
-
Click on Create App to start the process of creating a new app.
-
When prompted to choose the app type, select Business and then select "Other" if no specific use case fits your needs.
-
Complete the necessary fields like the app name, contact email, and app purpose, then click Create App.
Configure the App for Business Use
Once your app is created, make sure you configure it correctly for business use by adding the necessary products and permissions, as explained later in this guide.
Generate a Permanent Access Token
-
From your app’s Settings panel, click on System Users. This is where you manage users for your app.
-
Click Add, then choose Create. You will need to choose whether this user will be an Admin. Admin users typically have more permissions.
-
After you have created the system user, click on the user's name to open their details.
Generate Access Token
-
In the system user details page, click Generate Access Token.
-
During token generation, make sure to set the Expiration to "None" to ensure that the token does not expire. This is crucial for creating a permanent access token that does not require frequent renewal.
Verify Permissions
-
Ensure that your account and the system user have the correct permissions assigned to perform actions on your app or page. If you haven't set up these permissions:
- Go to Assign Assets from the system user's settings.
- Assign permissions such as Manage Pages, Publish Content, or any other permission relevant to your business needs.
- After assigning the permissions, click Save to apply the configuration.
Use the Permanent Access Token
Once generated, the permanent access token can now be used to interact with Facebook's APIs for managing pages, posting content, retrieving insights, or performing other automated tasks. Since you’ve set it as non-expiring, it will remain valid indefinitely unless manually revoked.
How to Integrate Facebook and WhatsApp into Your Account
How to Integrate Facebook and WhatsApp into Your Account
Log in to Your Account
-
Open your browser and go to RingQ Cloud App.
-
Log in using your account credentials.
Access the Dashboard
-
Once logged in, navigate to the Dashboard by clicking the first icon located at the top of the sidebar on the left-hand side of the screen.
Access Global Settings
-
From the Dashboard, navigate to Settings.
-
Under Settings, click on Global to access the global configuration options.
Configure Chat Settings
-
Within Global Settings, navigate to Chat Settings. This is where you will configure the integration for both Facebook and WhatsApp.
Facebook Integration
-
Copy the Callback URL for Facebook
-
In the Chat Settings section, you will find a field labeled Facebook Callback URL. Copy the URL from this page.
-
Paste the Callback URL into Facebook Developer Settings
-
Log in to your Facebook Developer account.
-
Navigate to the Webhooks section of your app (you can find this under the app's products if you've added Facebook as a product).
-
Paste the callback URL into the relevant field on the Facebook Webhook settings page.
-
Retrieve the Page ID
-
To connect your Facebook page, you’ll need your Page ID. You can find it by going to your Facebook Business account and navigating to Business Settings.
-
Copy the Page ID and paste it into the Facebook Page ID field in the Chat Settings section of the app.
Verify Facebook Integration
-
Once you’ve set up the callback URL and entered the Page ID, test the integration by initiating a chat through the connected Facebook account.
-
Make sure that messages sent through the Facebook page are being received and handled in your app’s chat system.
WhatsApp Integration
-
Locate WhatsApp Settings
-
In the Chat Settings section, next to Facebook, you’ll see options for WhatsApp integration. Click to expand this section.
-
Fill in the Required Fields
-
For the WhatsApp integration, you will need the following information:
-
WhatsApp Business Account ID: You can retrieve this from your WhatsApp Business Manager.
-
Access Token: You’ll need to generate this token from your WhatsApp Business API or Facebook Developer account.
-
WhatsApp Callback URL: This URL will be used to handle webhook events from WhatsApp (e.g., messages, notifications).
-
Enter the Callback URL
-
Copy the Callback URL from the WhatsApp section in your Facebook Developer account (similar to how you did for Facebook).
-
Paste it into the appropriate field in the WhatsApp section of the Chat Settings.
Verify WhatsApp Integration
-
Test the WhatsApp integration by sending a message through the connected WhatsApp Business account.
-
Ensure that messages from WhatsApp are being received correctly in the app’s chat system.
Registering Your WhatsApp Account for the Webhook
Registering Your WhatsApp Account for the Webhook
Access Facebook Business Settings
-
Open your browser and navigate to Facebook Business Settings.
Add Your WhatsApp Business Account
-
In the Business Settings section, find and click on WhatsApp Accounts.
-
Important: Ensure that you are adding a WhatsApp Business Account and not a regular WhatsApp account. A personal WhatsApp account will not work for webhook integration. The WhatsApp Business account is required to handle business-related activities and messages.
Assign Permissions
-
After adding your WhatsApp Business Account, make sure to assign the necessary permissions to manage the account. This typically includes permissions for Manage Messages, Send Messages, and other essential tasks.
-
Go to the Permissions section within your Facebook Business settings and grant the required permissions for managing the WhatsApp Business account.
Setting Up a Webhook for Messenger
Setting Up a Webhook for Messenger
Accept Permissions in Facebook Business
-
In your Facebook Business Settings, ensure that you have accepted all the necessary permissions for managing your Facebook pages and Messenger.
-
This includes permissions for Send Messages, Receive Messages, and other required messaging actions.
Add Messenger as a Product
-
If you don’t see Messenger listed as a product in your app:
-
Click Add Product in the left sidebar and locate Messenger.
-
Click Set Up to add Messenger as a product for your app.
Set Up Webhook for Messenger
-
After adding Messenger, go to the Messenger settings under your app’s products.
-
In the Webhook section, you can configure or update the Webhook URL that will handle Messenger events like message deliveries, message reads, and customer interactions.
-
Note: Certain permissions are required for setting up and changing the webhook URL. These permissions may take up to 5 days to be validated by Facebook, so plan accordingly.
Generate and Store the Token
-
Facebook will generate a Webhook Token that you’ll use to validate your webhook setup.
-
Ensure that you store this token securely, as you will need it during the verification process to confirm that Facebook’s webhook requests are legitimate.
Verify Permissions
-
If you encounter issues with permissions (e.g., not being able to send or receive messages), you can request additional permissions through the Business Settings page.
-
Double-check that you have enabled permissions for Send Messages and Receive Messages for the pages connected to Messenger.
Pass Necessary Requirements for WhatsApp and Messenger
-
Both WhatsApp and Messenger require permissions to send and receive messages. Ensure that these permissions are enabled for both platforms.
-
For Messenger, make sure you have enabled the necessary permissions through the Messenger Settings in your app.
-
For WhatsApp, the permissions should be configured through the WhatsApp Business Account Settings.
 RingQ IOS Version 8.8.72 7th February 2025